DIY Tips for Garage Floor Resurfacing: What You Need to Know


Understanding Garage Floor Resurfacing
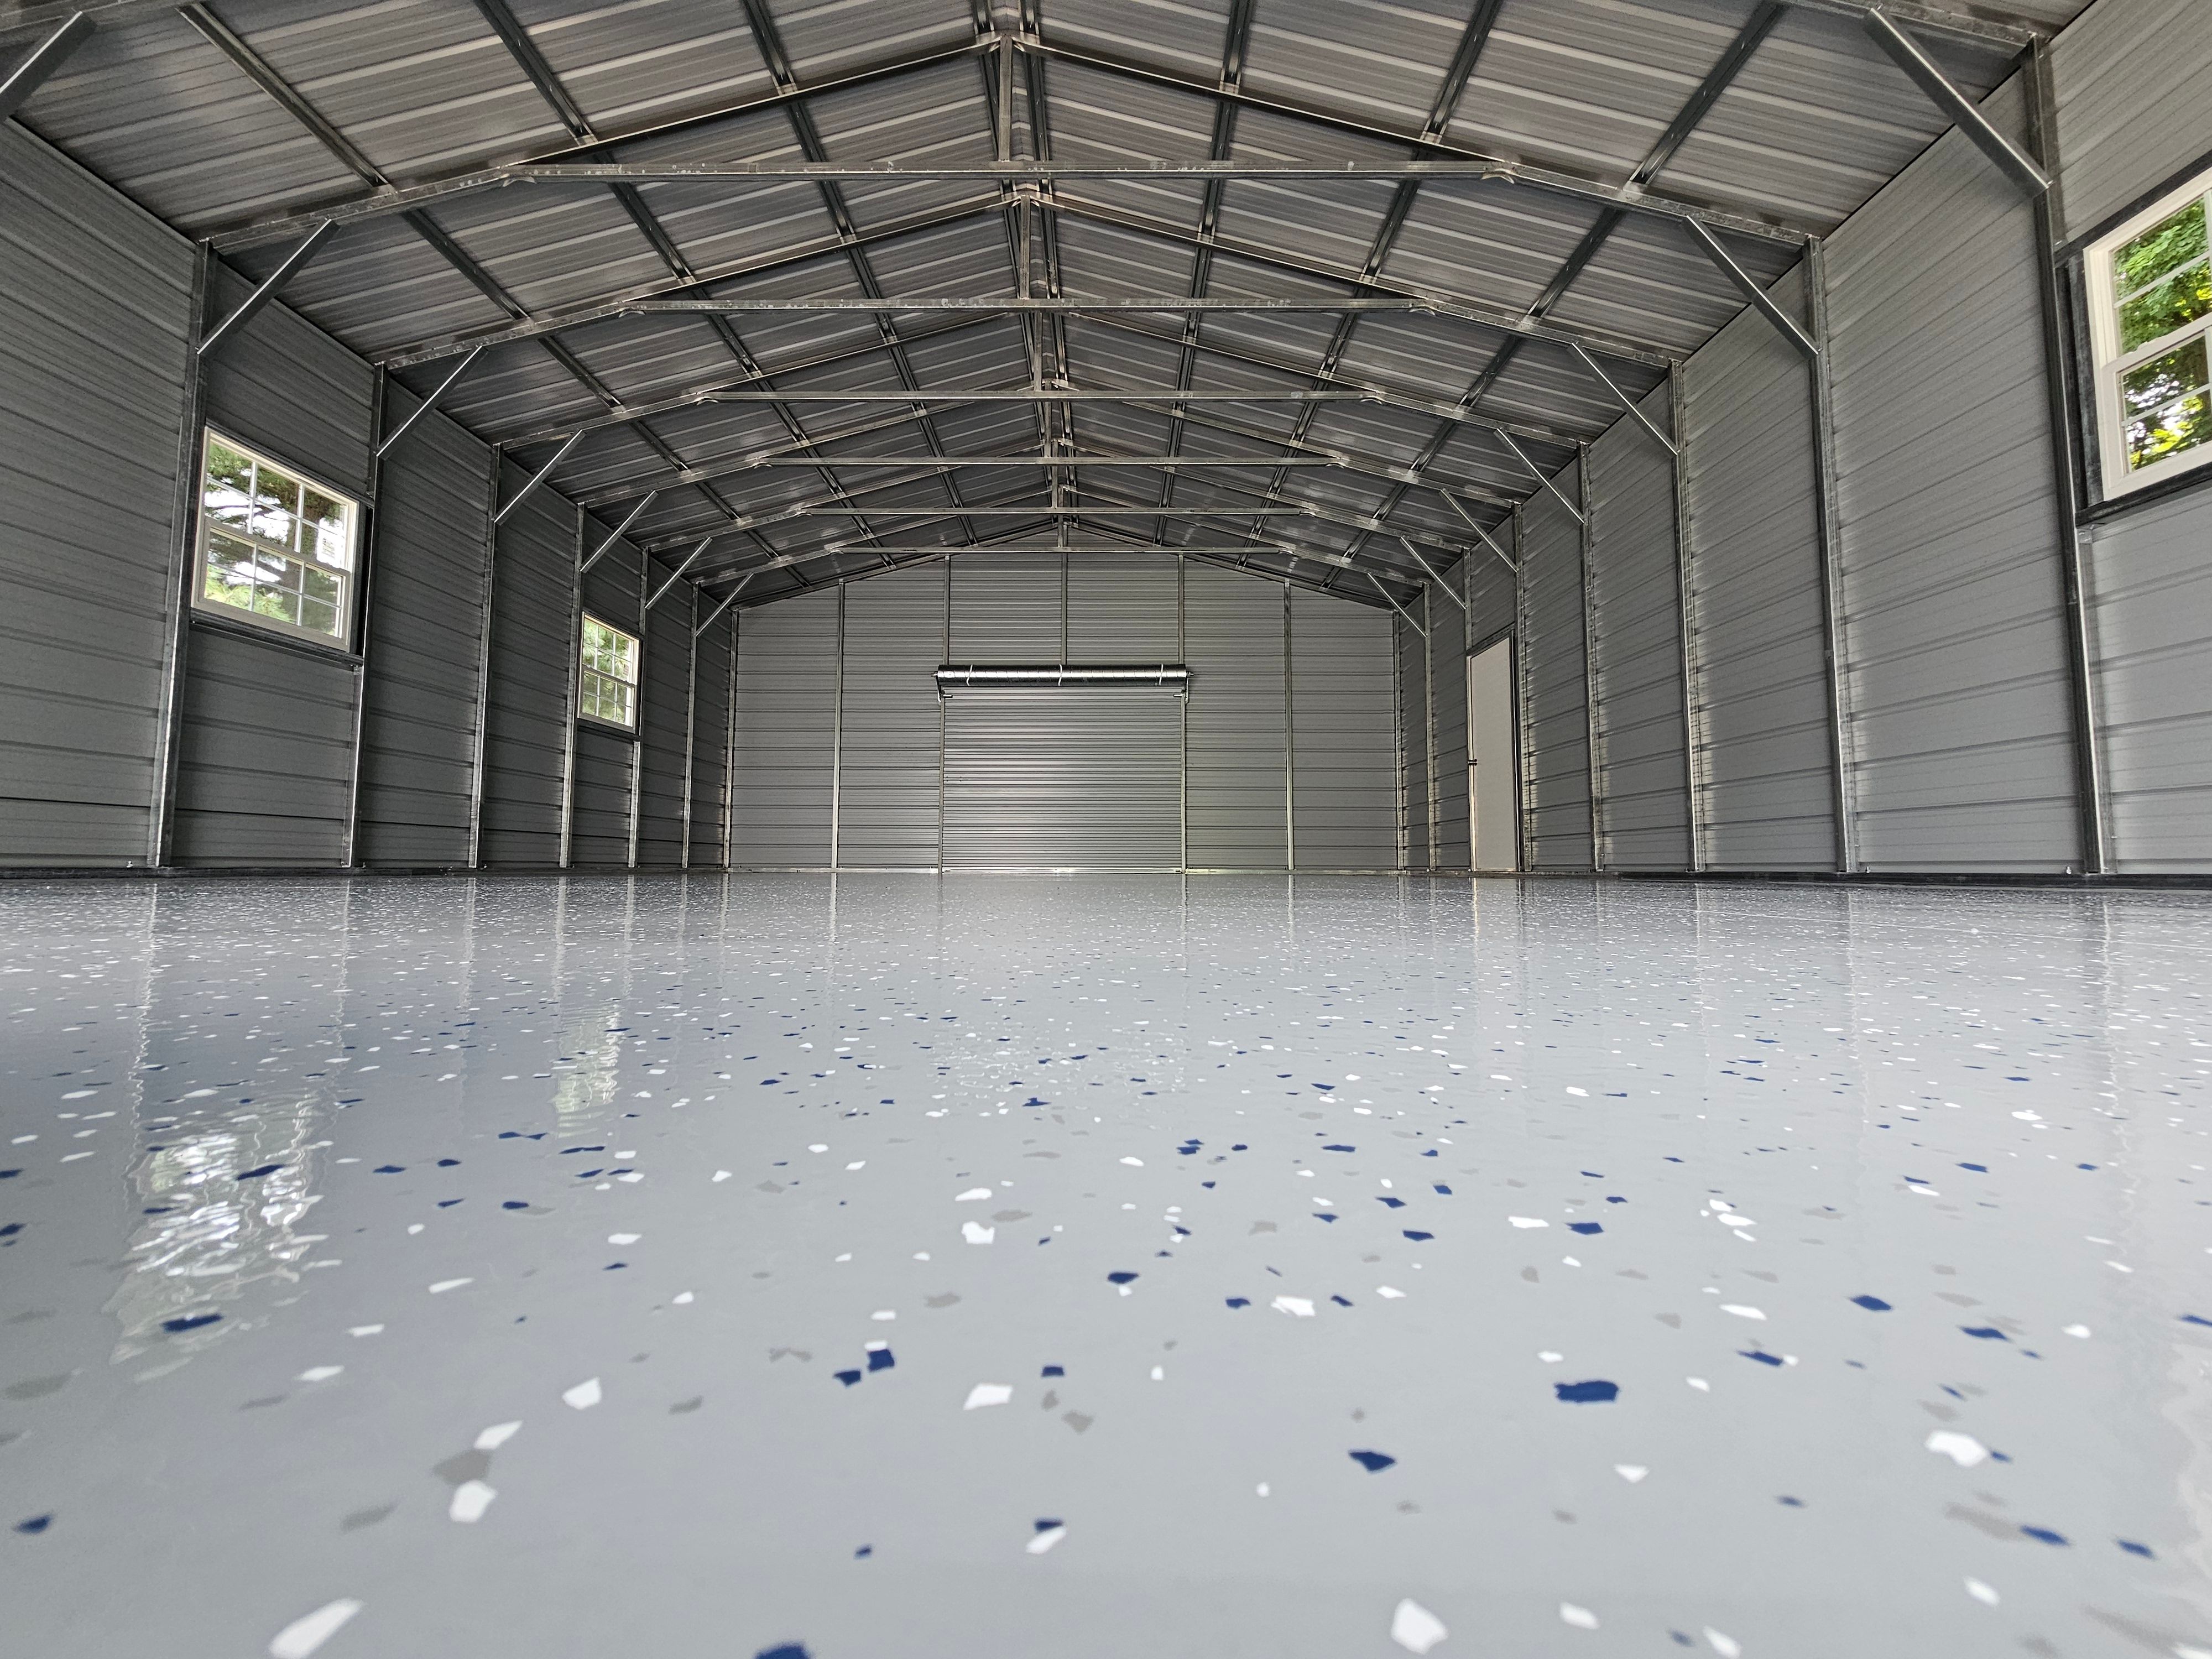
Garage floor resurfacing can breathe new life into a space that often gets overlooked. Whether you're dealing with cracks, stains, or simply want a fresh look, resurfacing is a cost-effective way to achieve a durable and attractive finish. Before diving in, it's essential to understand the basics of this DIY project to ensure success and satisfaction.
Gathering the Right Tools and Materials
Before starting your garage floor resurfacing, make sure you have all necessary tools and materials on hand. This will save you time and frustration later on. Here’s a checklist of essentials:
- Concrete cleaner or degreaser
- Concrete patching compound
- Resurfacer mix
- Squeegee or trowel
- Paint roller and extension pole
- Sanding tool or grinder (if needed)
Having these items ready will streamline the process and help you achieve a professional finish.
Preparing the Surface
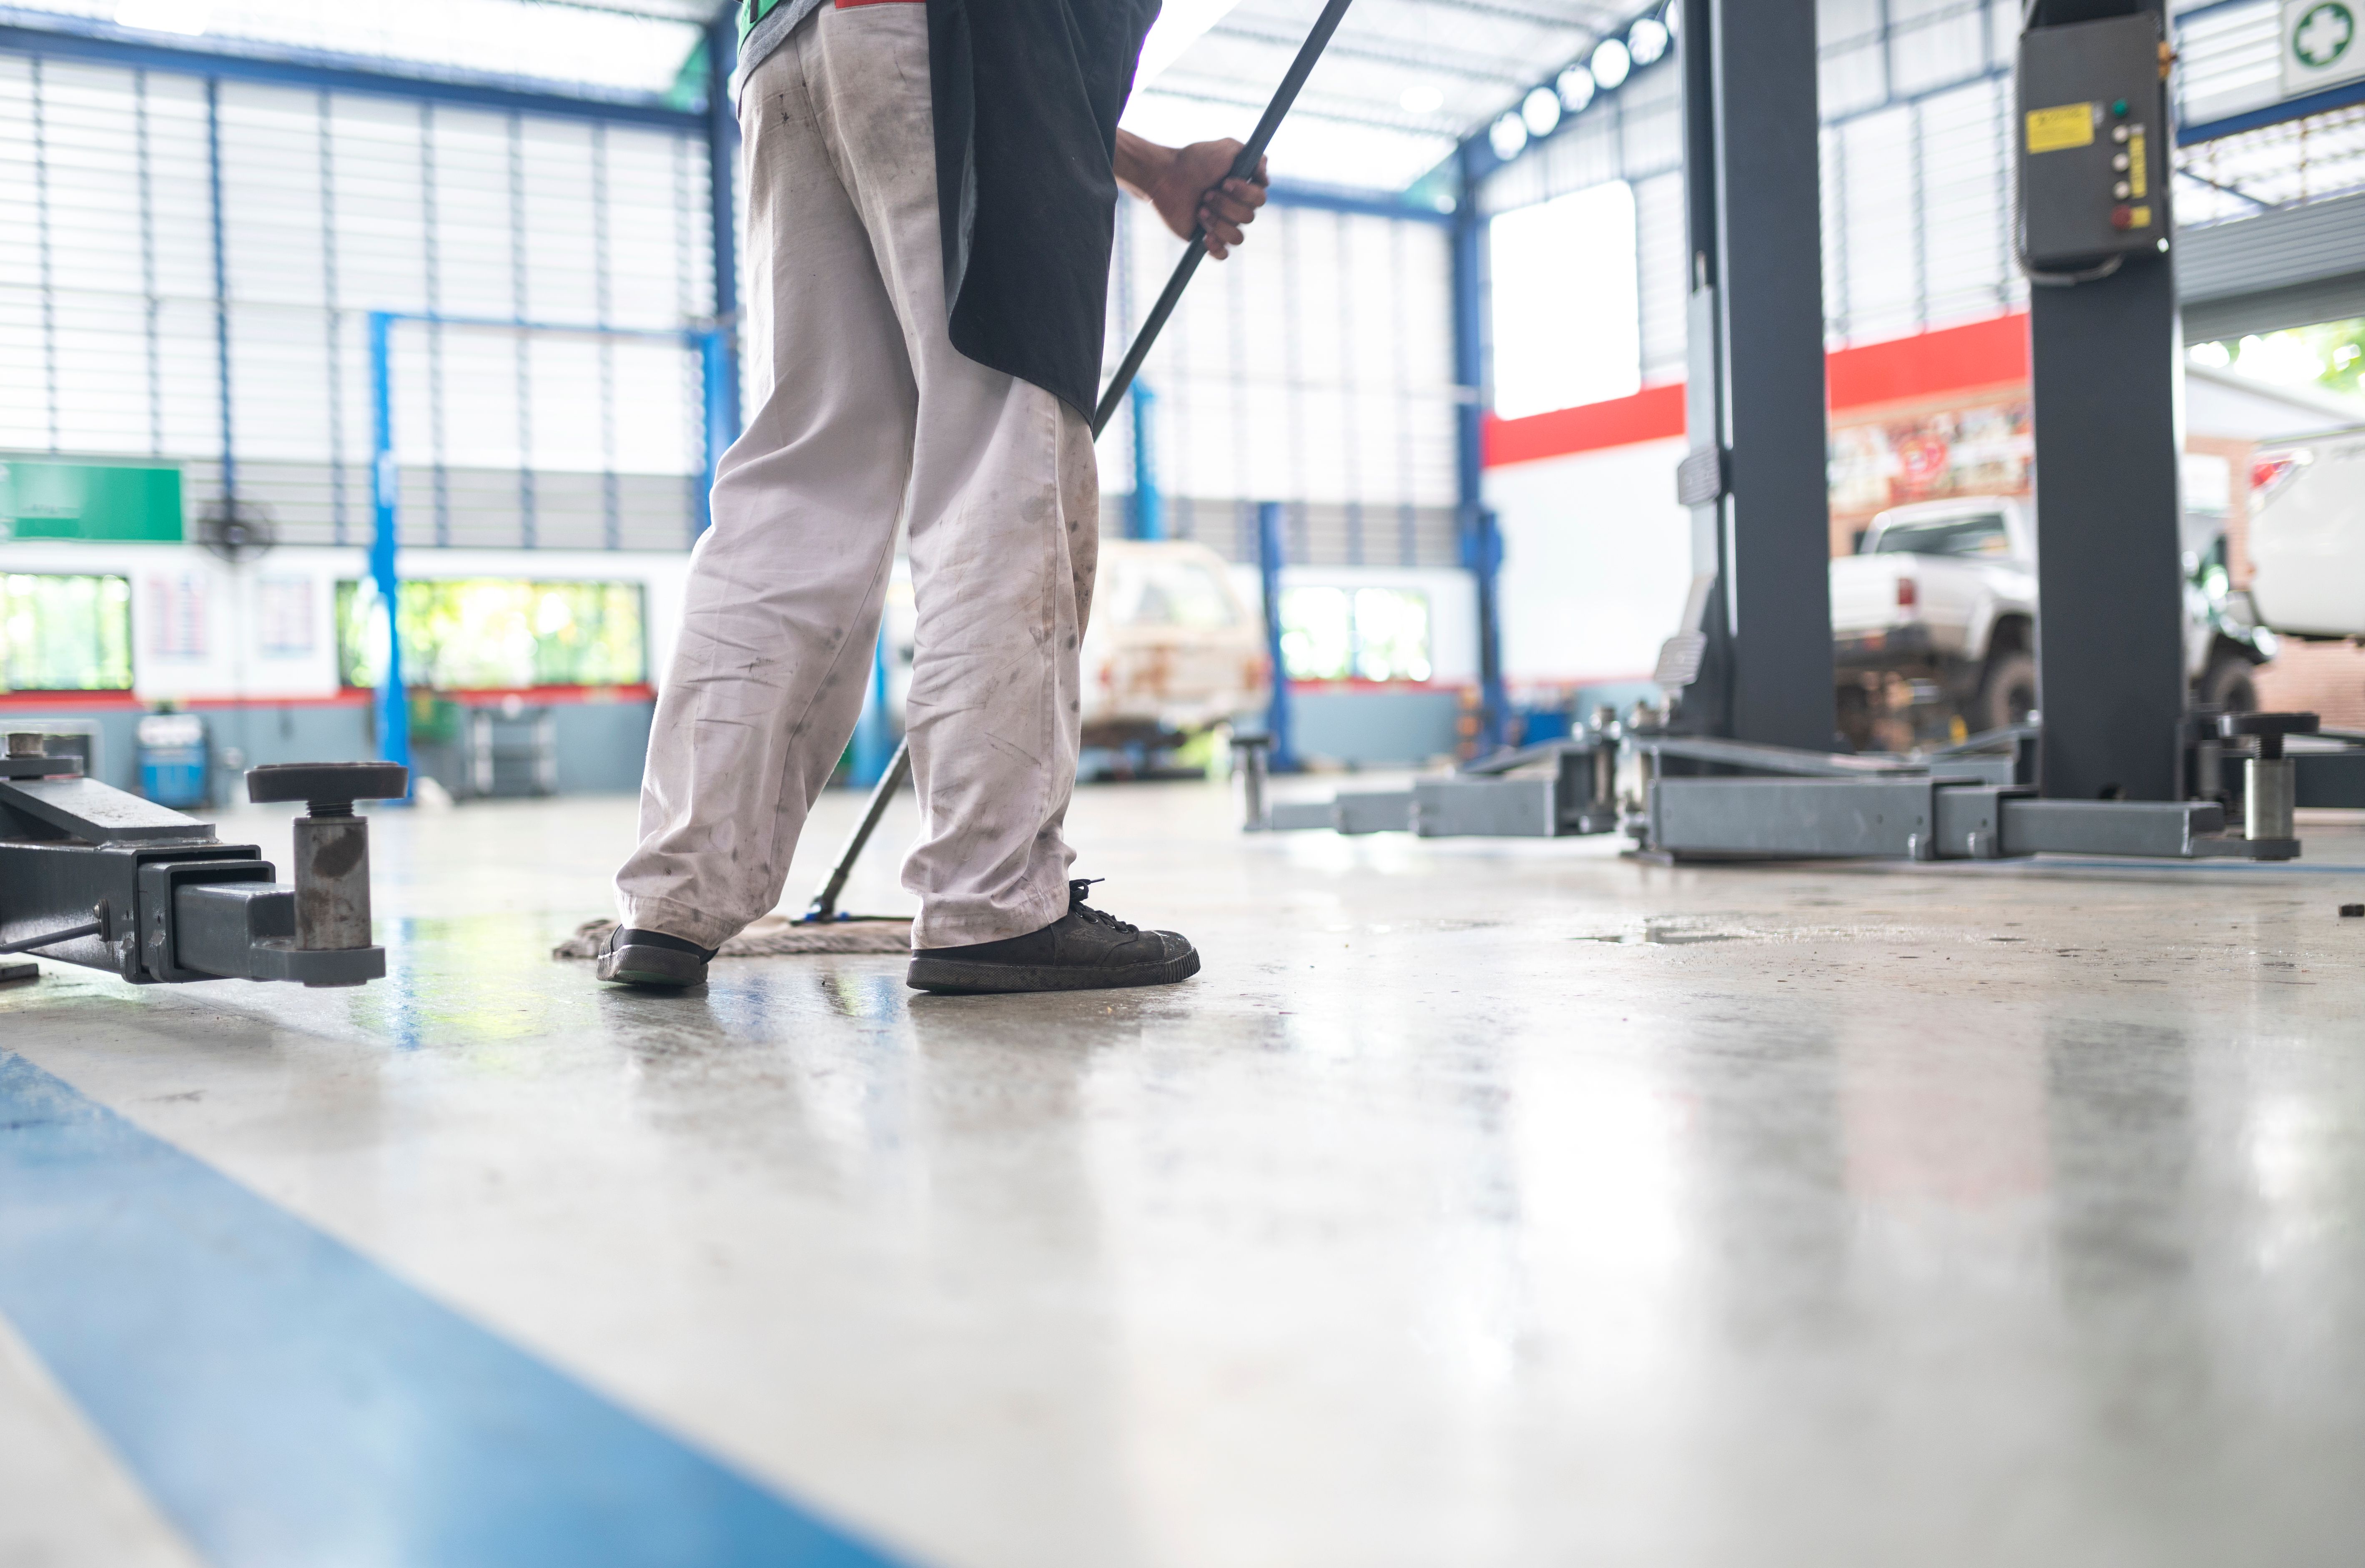
The key to a successful garage floor resurfacing project is proper preparation. Start by cleaning the floor thoroughly. Use a concrete cleaner or degreaser to remove any oil stains, dirt, and debris. This step is crucial because any residue left on the surface can prevent the resurfacer from adhering properly.
Next, inspect the floor for any cracks or holes. Use a concrete patching compound to fill these imperfections. Allow the compound to dry completely before proceeding. If your floor is particularly uneven, a sanding tool or grinder may be necessary to level it out.
Mixing and Applying the Resurfacer
Once the surface is prepped, it's time to mix the resurfacer according to the manufacturer's instructions. This usually involves combining the resurfacer mix with water in a large bucket. Be sure to stir thoroughly to eliminate any lumps.
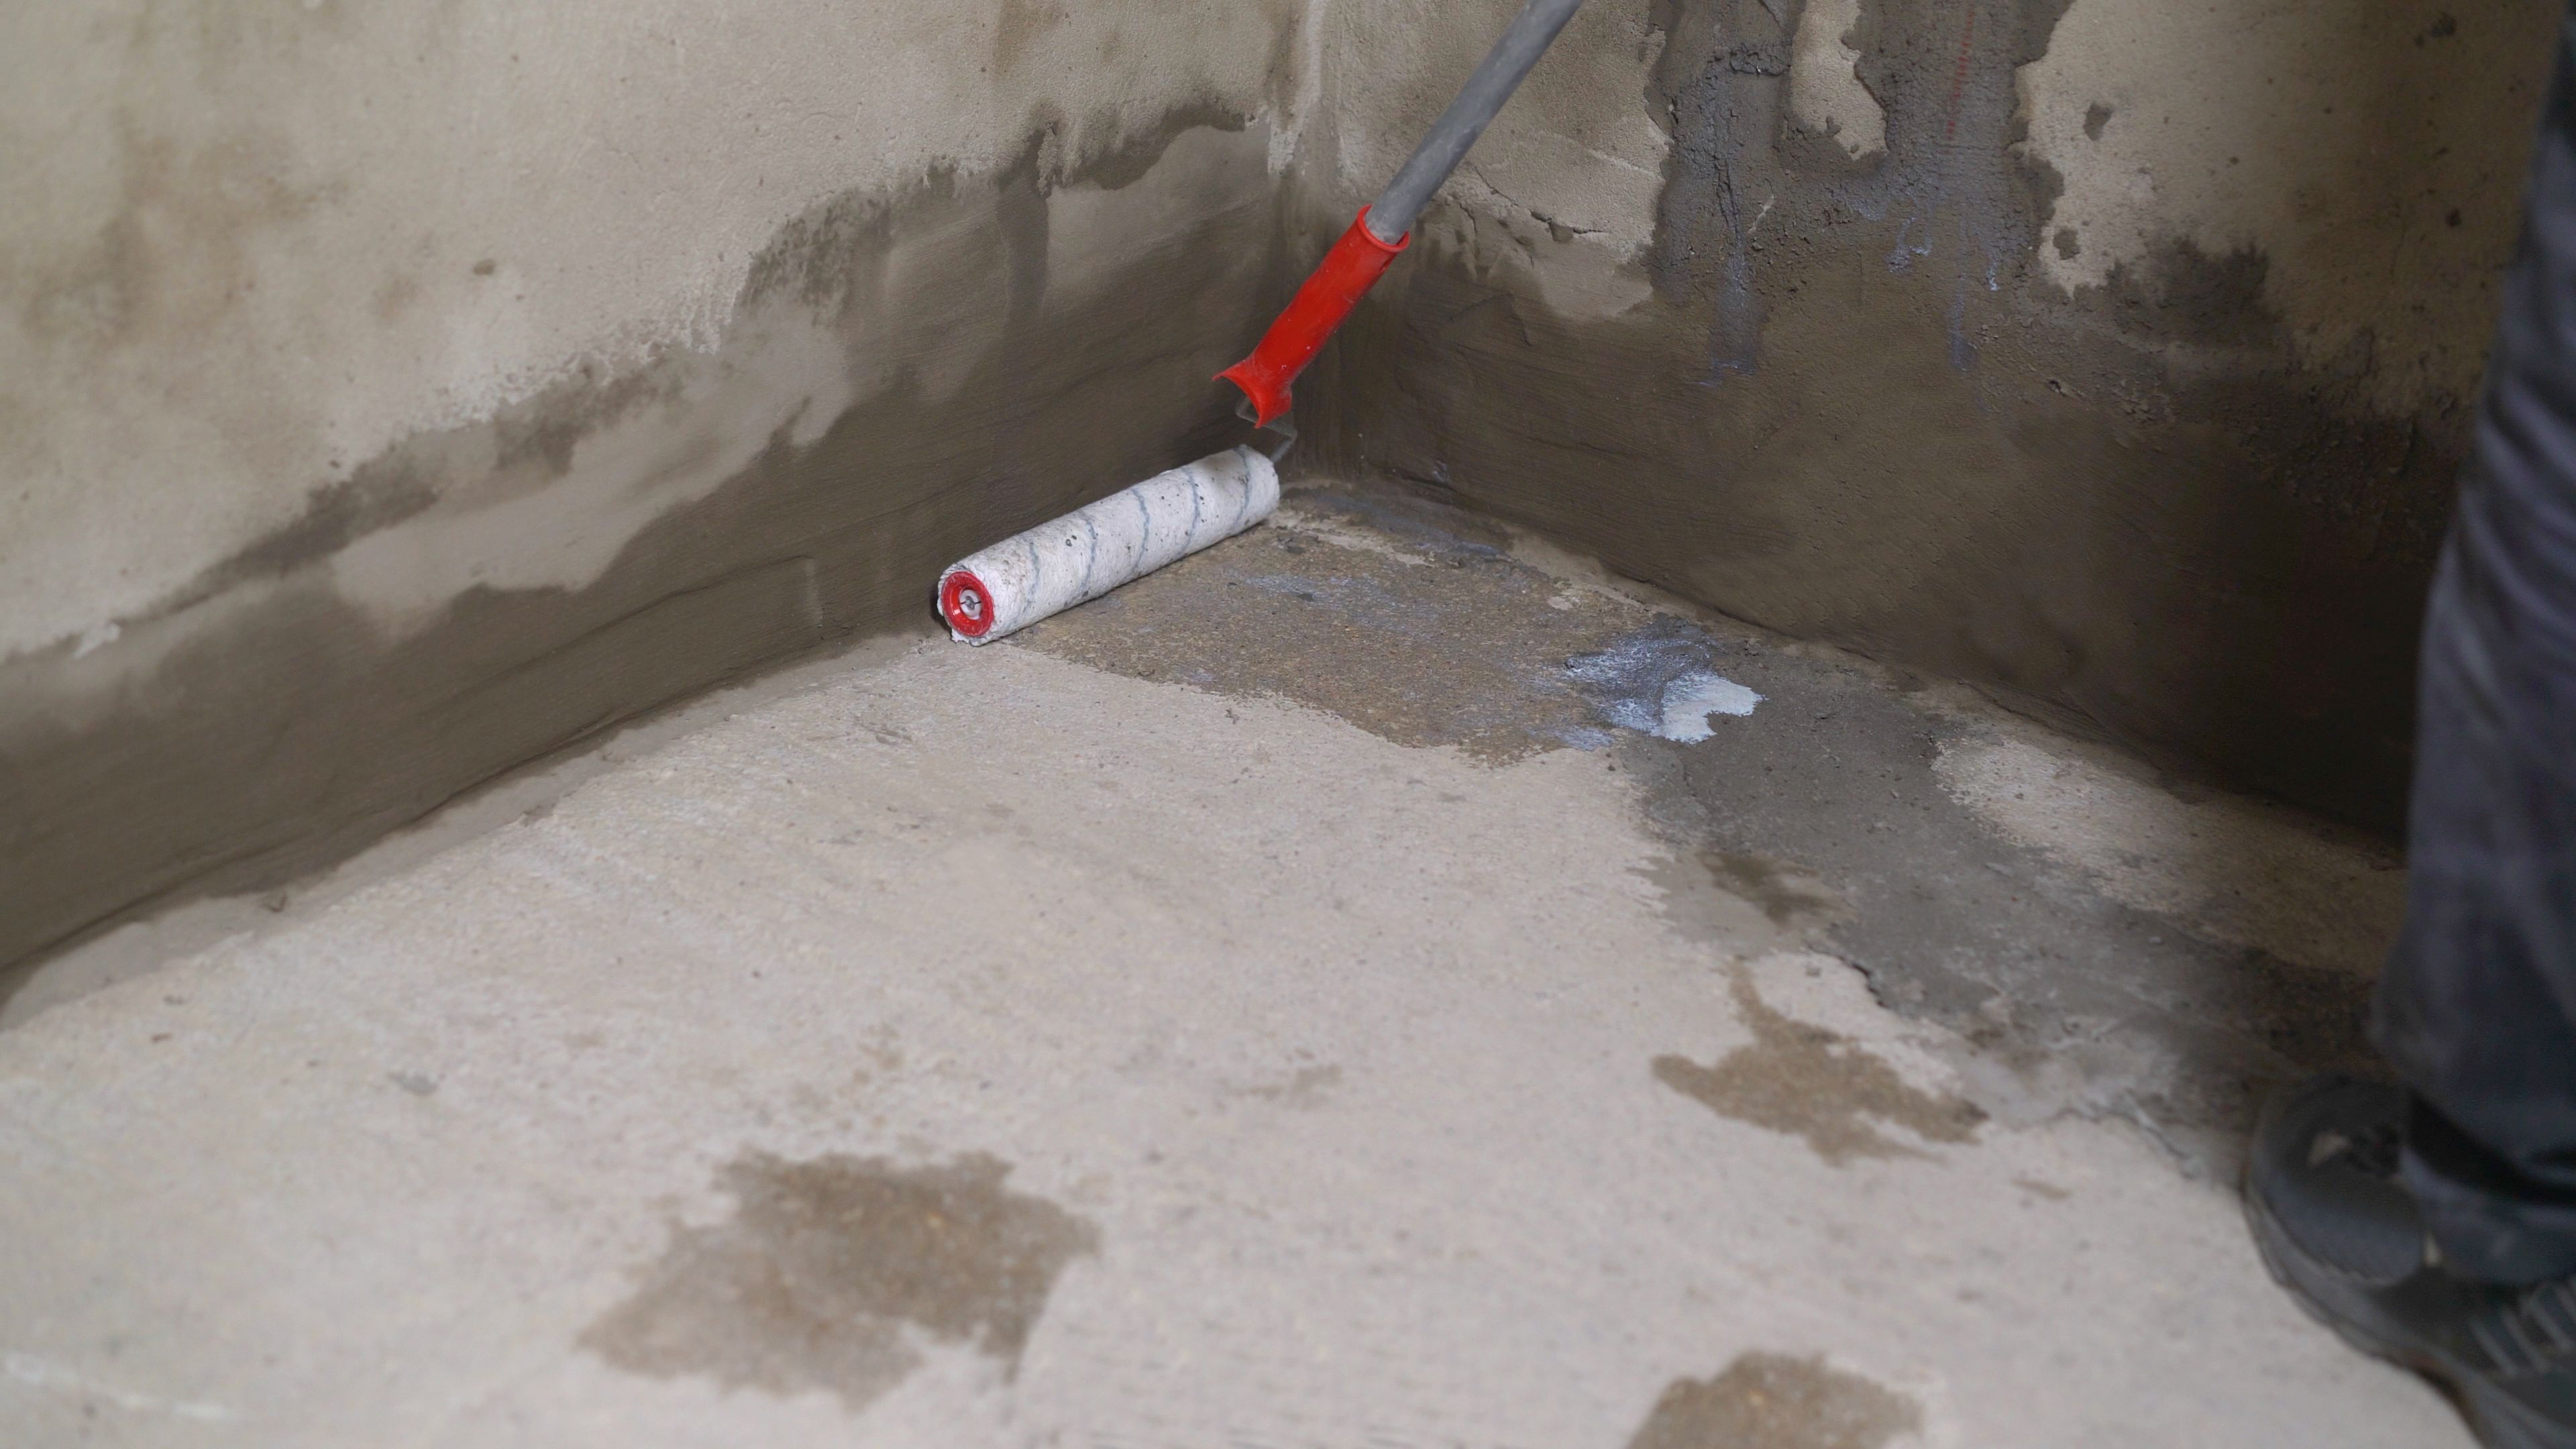
Apply the resurfacer using a squeegee or trowel, working in small sections. Spread it evenly across the floor, maintaining a consistent thickness. If you're aiming for a textured finish, use a paint roller with an extension pole to create the desired effect.
Curing and Finishing Touches
After applying the resurfacer, allow it to cure according to the product guidelines. This typically takes about 24 hours, but it's essential to check specific instructions for the product you're using. During this time, keep foot traffic to a minimum to avoid imprinting.
Finally, consider adding a sealant for extra protection against stains and wear. A sealant can enhance the durability of your newly resurfaced floor and keep it looking pristine for years to come.
Maintenance Tips
To maintain the longevity of your new garage floor surface, regular care is essential. Sweep and clean the floor periodically to remove dirt and debris. Avoid using harsh chemicals that might damage the sealant or resurfacer.

If you notice any new cracks or chips over time, address them promptly with patching compound. Regular maintenance will ensure that your garage floor remains in top condition and continues to provide an attractive and functional space.
Conclusion
Tackling a DIY garage floor resurfacing project can be rewarding and significantly enhance your garage's appearance and functionality. By following these steps and tips, you'll be well on your way to achieving professional results without breaking the bank. With careful preparation, application, and maintenance, your garage floor will look fresh and resilient for years.