DIY Tips for Small Epoxy Flooring Projects in Benowa

Getting Started with Epoxy Flooring
Epoxy flooring is a popular choice for both residential and commercial spaces due to its durability and aesthetic appeal. If you're in Benowa and considering a DIY approach for a small epoxy flooring project, there are several key steps to ensure success. With the right preparation and materials, you can achieve a professional-looking finish on your own.
Before you begin, ensure you have all the necessary materials and tools. This includes epoxy resin, hardener, a paint roller, a mixing bucket, and a squeegee. Proper preparation of the area is crucial, so make sure the floor is clean and free from any debris or grease.
Preparing Your Floor
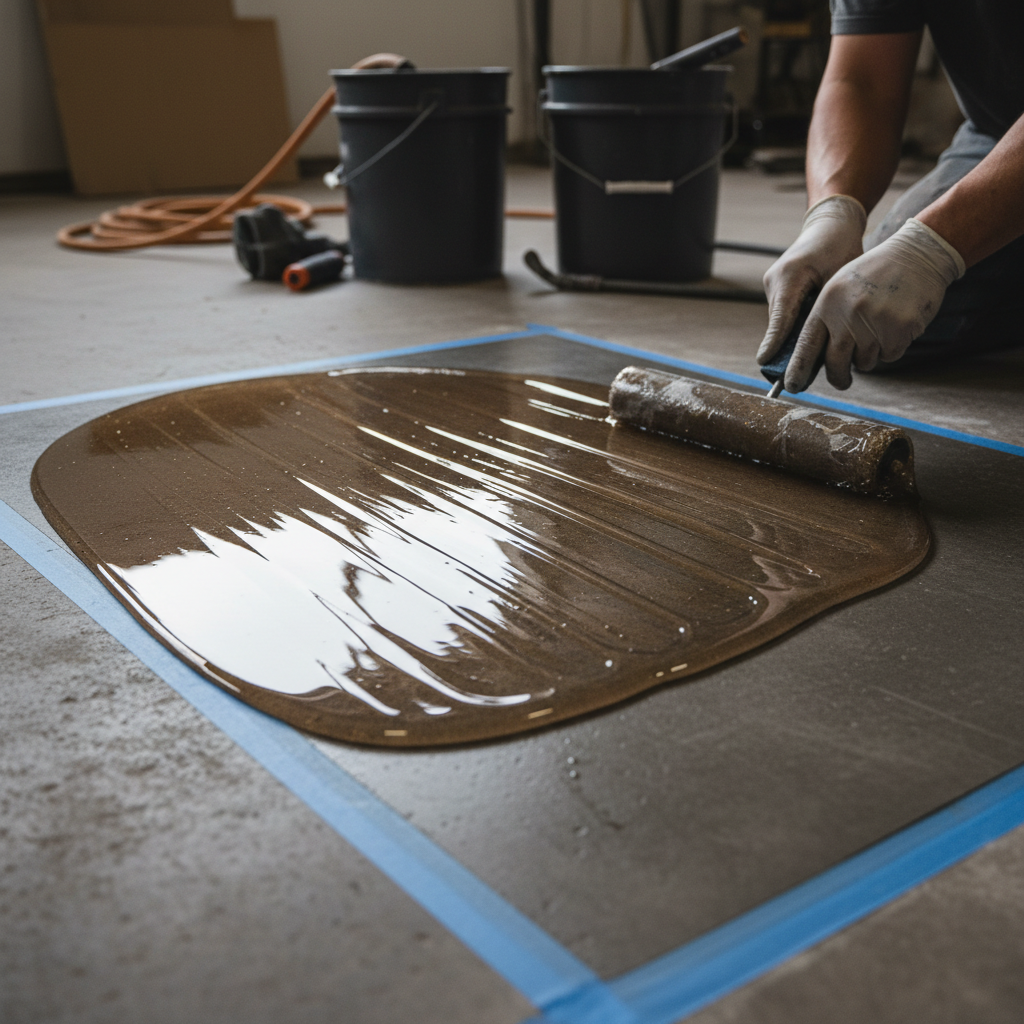
Preparation is the foundation of a successful epoxy flooring project. Start by repairing any cracks or holes in the concrete surface. Use a concrete patching compound to fill these areas, and allow it to dry completely.
Once the surface is smooth, proceed to clean the floor thoroughly. Use a degreaser to remove any oil or grease stains, and follow up with a heavy-duty vacuum to eliminate dust and small particles. A clean surface ensures better adhesion of the epoxy.
Priming the Surface
Applying a primer is crucial for the epoxy to adhere properly. Choose a primer that is compatible with your floor type. Apply it evenly using a roller, and allow it to dry according to the manufacturer's instructions. This step not only improves adhesion but also enhances the longevity of your epoxy floor.
Mixing and Applying Epoxy
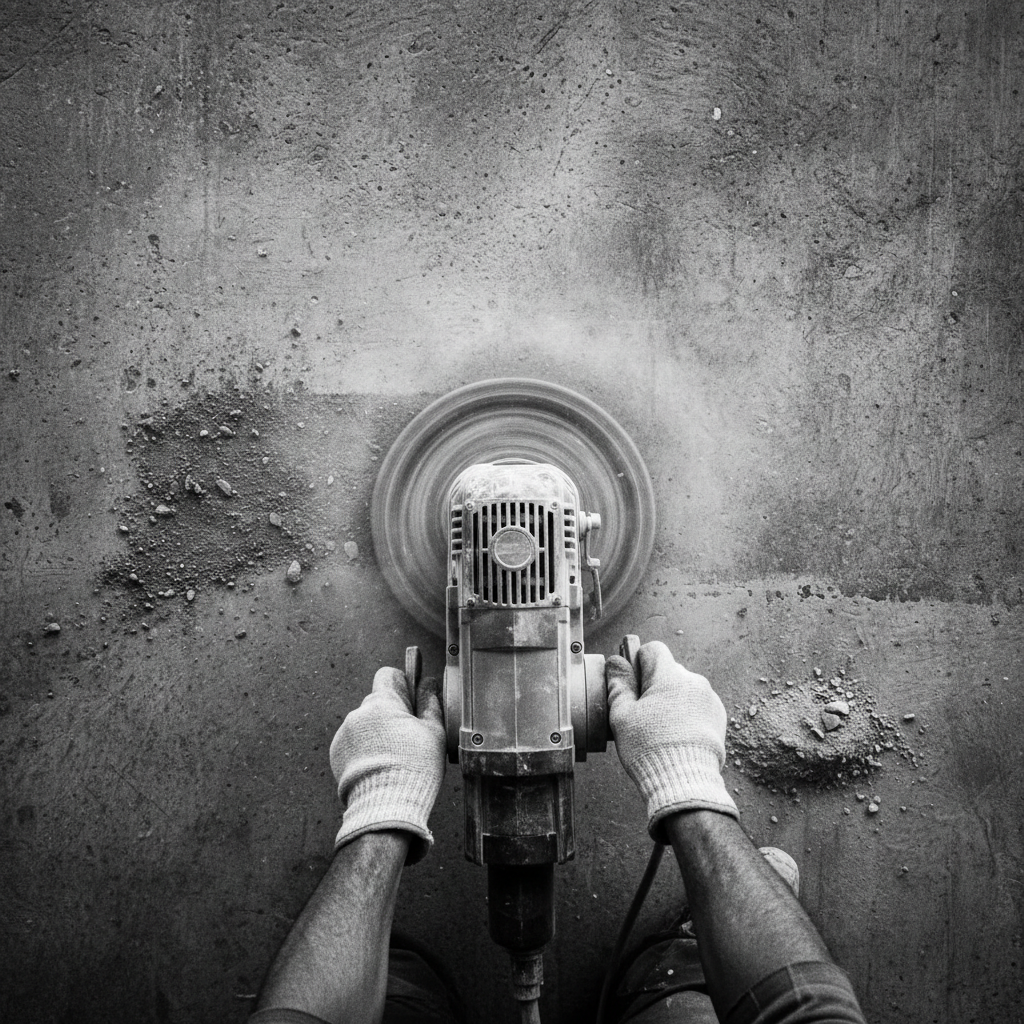
Once the primer has dried, it's time to mix your epoxy. Follow the instructions on the epoxy kit carefully, as the mixing ratio is important for the curing process. Use a mixing bucket and a stir stick to ensure the resin and hardener are thoroughly combined.
Begin applying the epoxy to the floor by pouring it in small sections. Use a squeegee to spread the epoxy evenly across the surface. Work in small areas to maintain a wet edge, ensuring there are no visible seams. Roll over the epoxy with a paint roller to smooth out any bubbles or imperfections.
Adding Decorative Elements
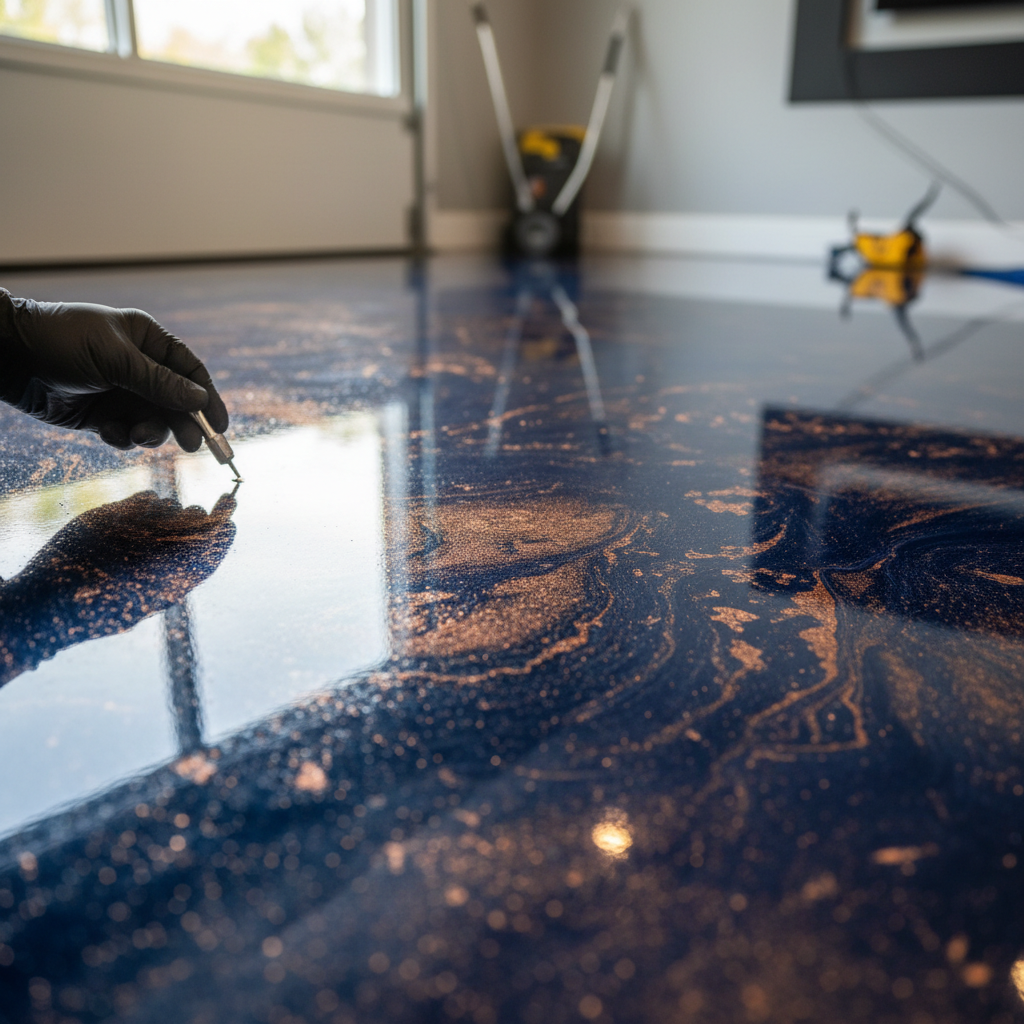
If you wish to enhance the aesthetic appeal of your floor, consider adding decorative flakes or pigments. Sprinkle the flakes evenly over the wet epoxy surface. This not only adds texture but also hides minor imperfections. Allow the epoxy to cure according to the manufacturer's guidelines.
Finishing Touches and Maintenance
After the epoxy has fully cured, consider applying a topcoat for additional protection. This step adds a layer of durability, making your floor resistant to scratches and stains. Choose a topcoat that complements the epoxy and apply it evenly.
Maintaining your new epoxy floor is relatively simple. Regular sweeping and occasional mopping with a mild detergent will keep the surface looking pristine. Avoid using harsh chemicals that might damage the epoxy.
Conclusion
By following these DIY tips, you can successfully complete a small epoxy flooring project in your Benowa home. The key is in the preparation and attention to detail during each step of the process. With patience and precision, you'll have a beautiful and durable floor that lasts for years.