Expert Tips for Installing Garage Floor Epoxy: A Step-by-Step Guide


Transforming your garage floor with epoxy not only enhances the aesthetic appeal but also adds durability and protection. Whether you're a seasoned DIY enthusiast or a beginner, applying garage floor epoxy can be accomplished with the right guidance. Here's a step-by-step guide to help you achieve a professional finish.
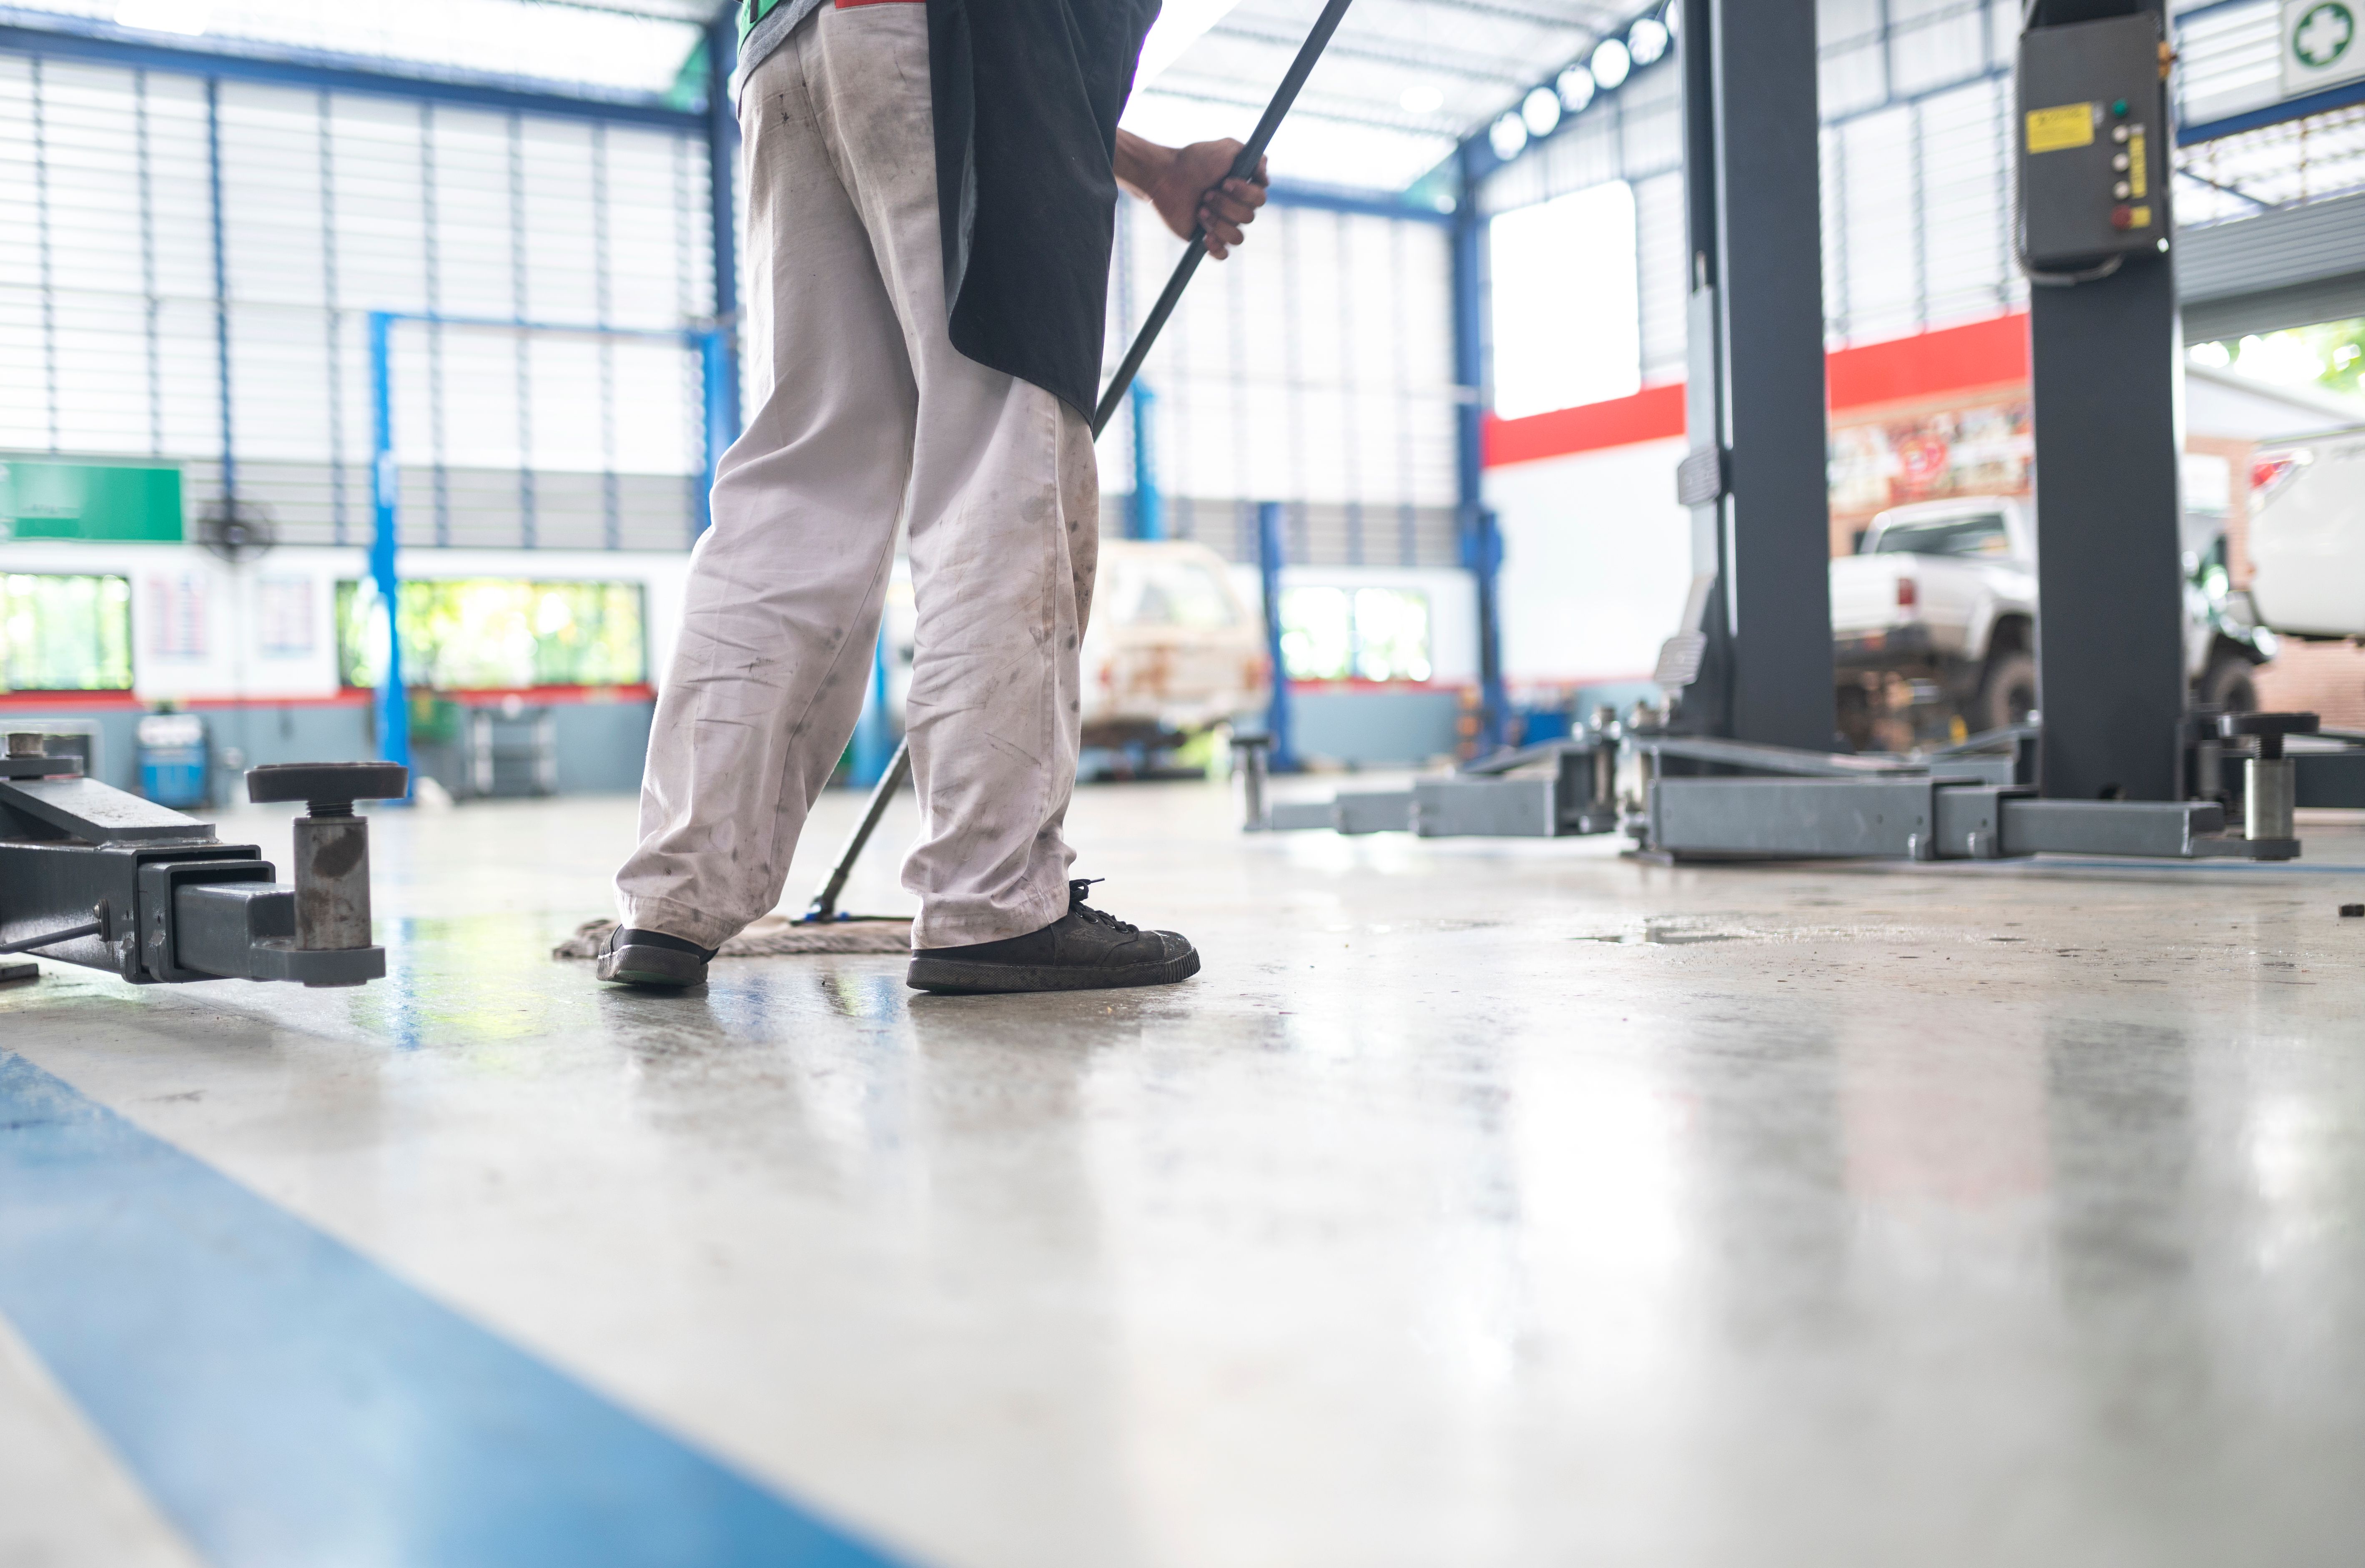
Preparation is Key
Before you begin applying epoxy, it is crucial to prepare the garage floor properly. Start by clearing out the garage to ensure you have ample space to work. Sweep and clean the floor thoroughly, removing any dust, dirt, or oil stains. For oil spots, consider using a degreaser to ensure a clean surface.
Next, inspect the floor for any cracks or damage. Use a concrete patching compound to fill any imperfections. Allow it to cure fully before proceeding. This preparation step is vital for ensuring the epoxy adheres correctly.
Testing for Moisture
Moisture can be a significant issue when applying epoxy. Conduct a moisture test by taping a plastic sheet to the garage floor and leaving it overnight. If condensation forms under the sheet, you may need to address moisture issues before applying the epoxy.
Gathering Your Materials
Once the floor is prepped, gather all necessary materials. You'll need epoxy resin and hardener, a paint roller, a brush for edges, a mixing paddle, a paint tray, and protective gear like gloves and goggles. Make sure to read the manufacturer's instructions for any additional tools or steps.
Ensure that you select an epoxy kit suitable for garage floors. These kits are designed to withstand the wear and tear of vehicles and foot traffic, offering long-lasting protection.
Application Process
The application process itself involves several careful steps. Follow these to ensure a smooth finish:
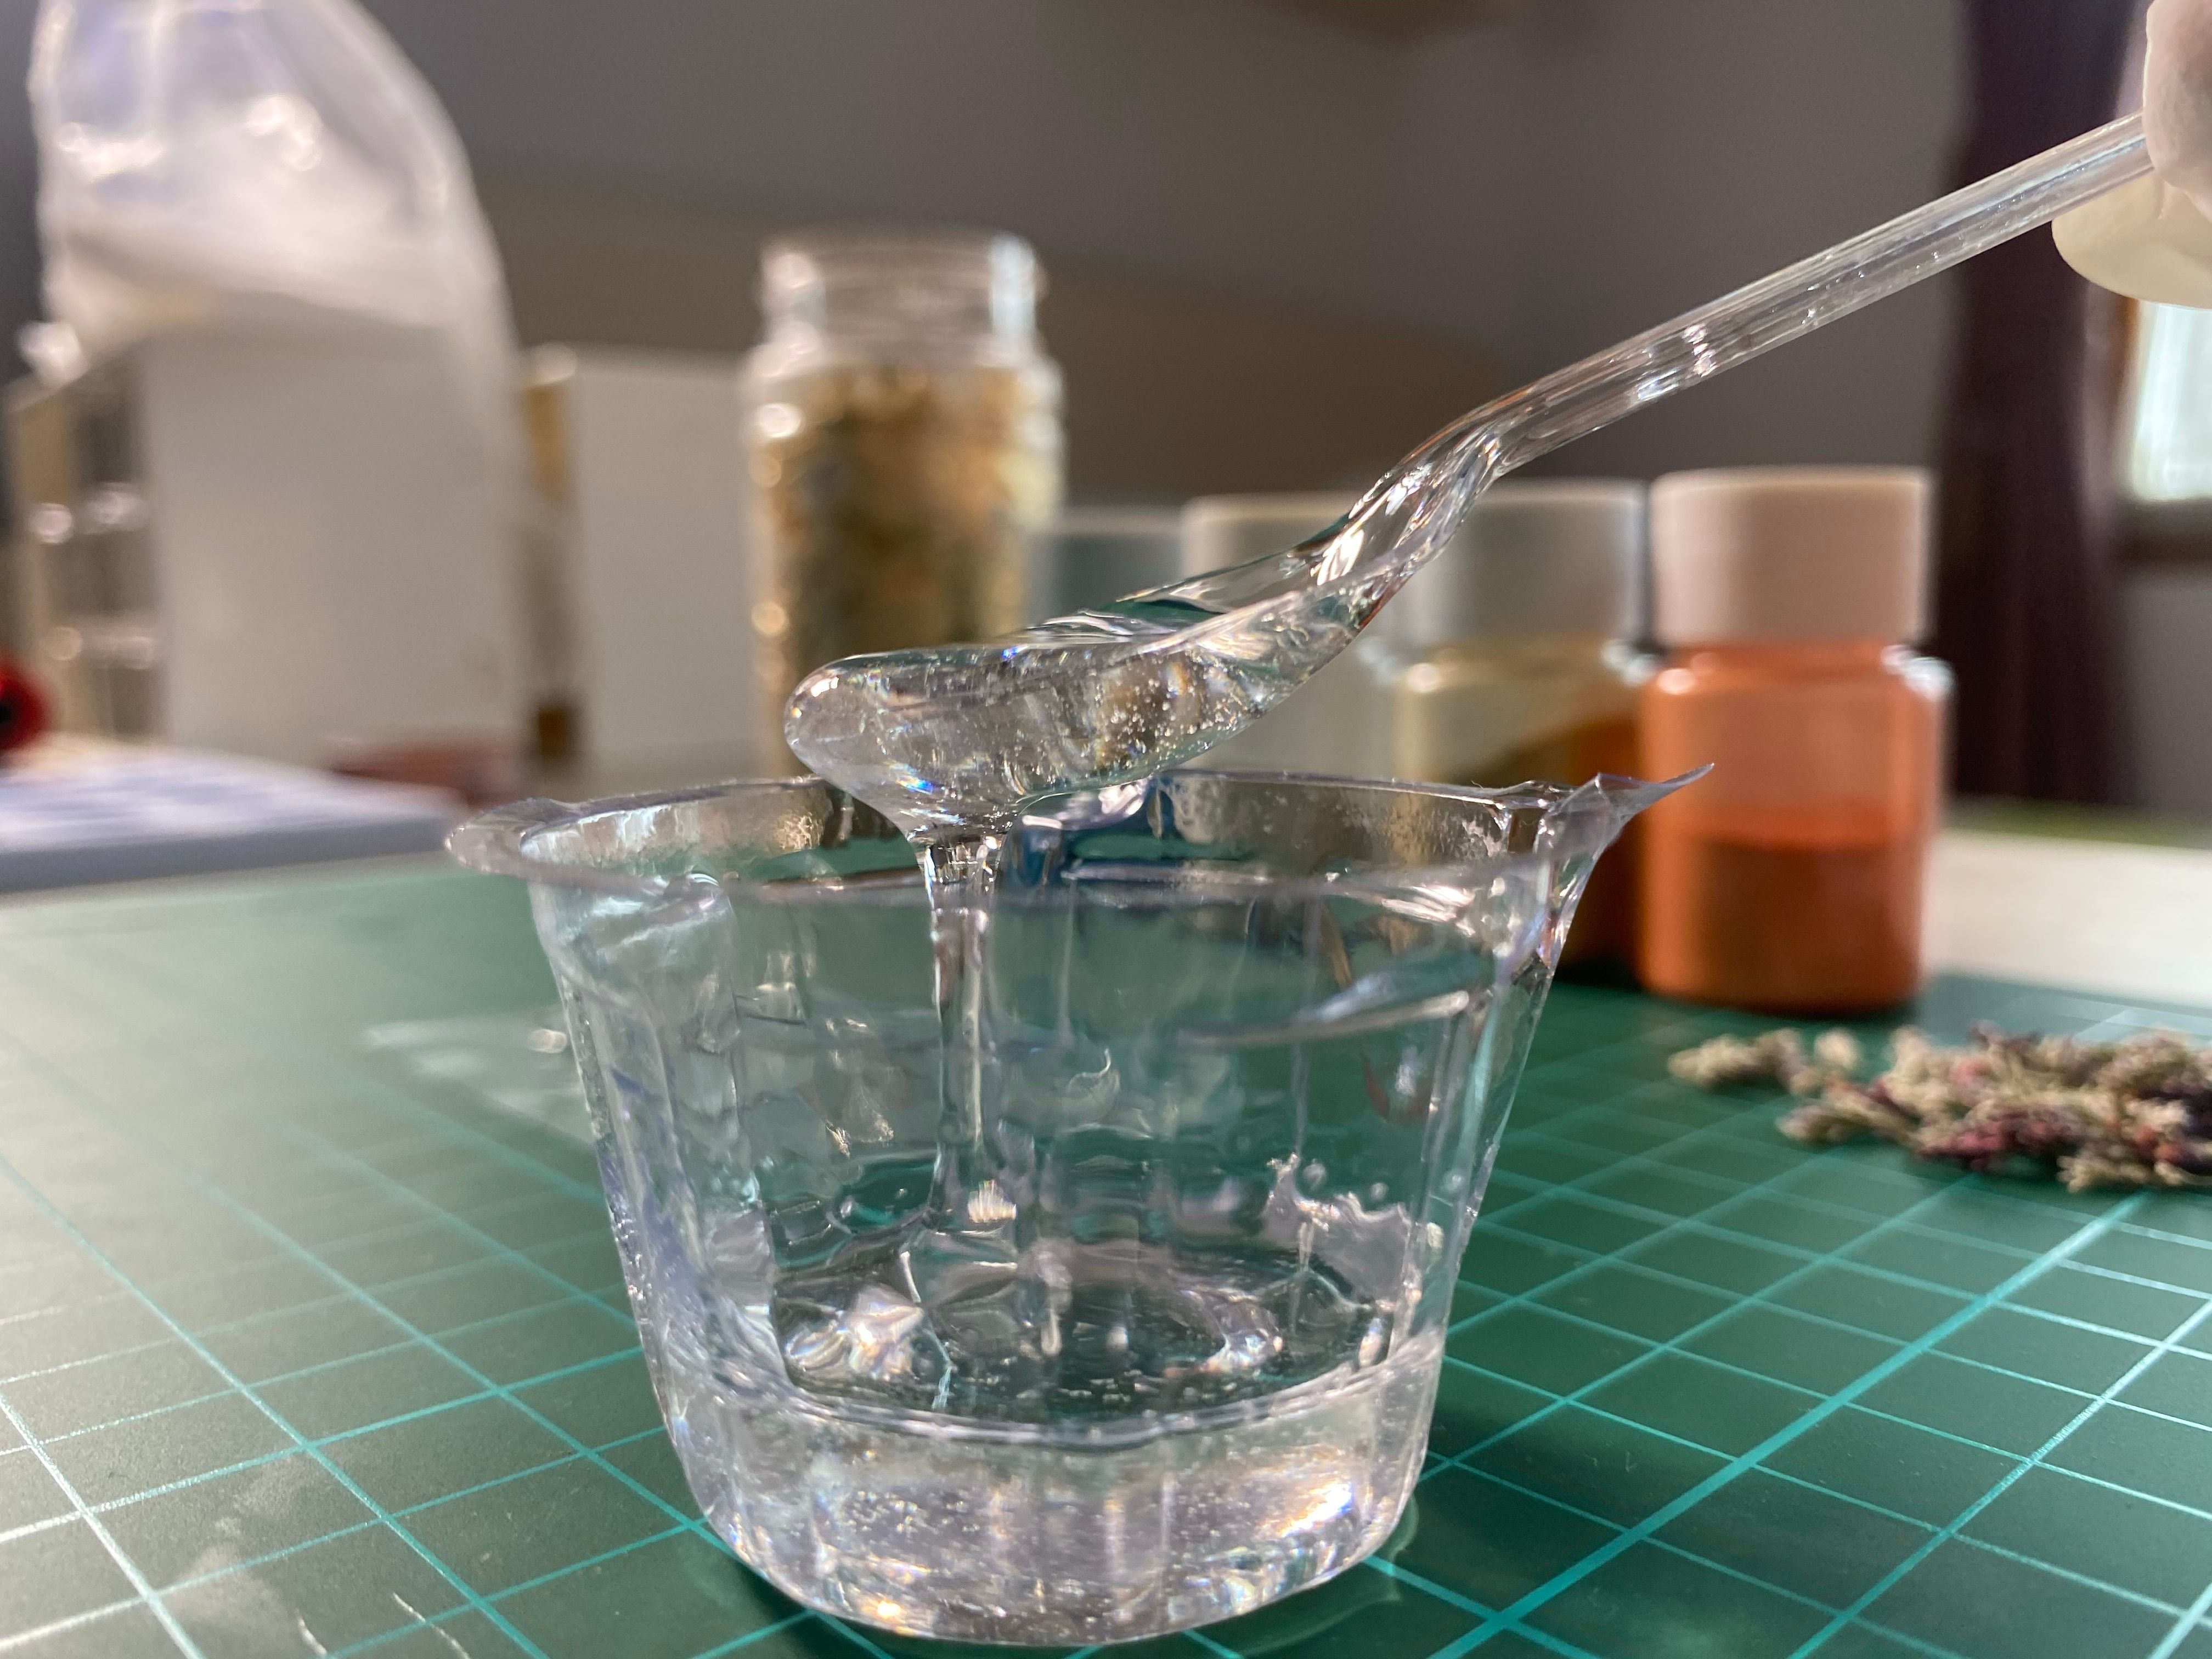
- Mixing: Combine the resin and hardener according to the instructions. Mix thoroughly to ensure a uniform consistency.
- Cutting In: Use a brush to apply epoxy around the edges and corners of the garage floor.
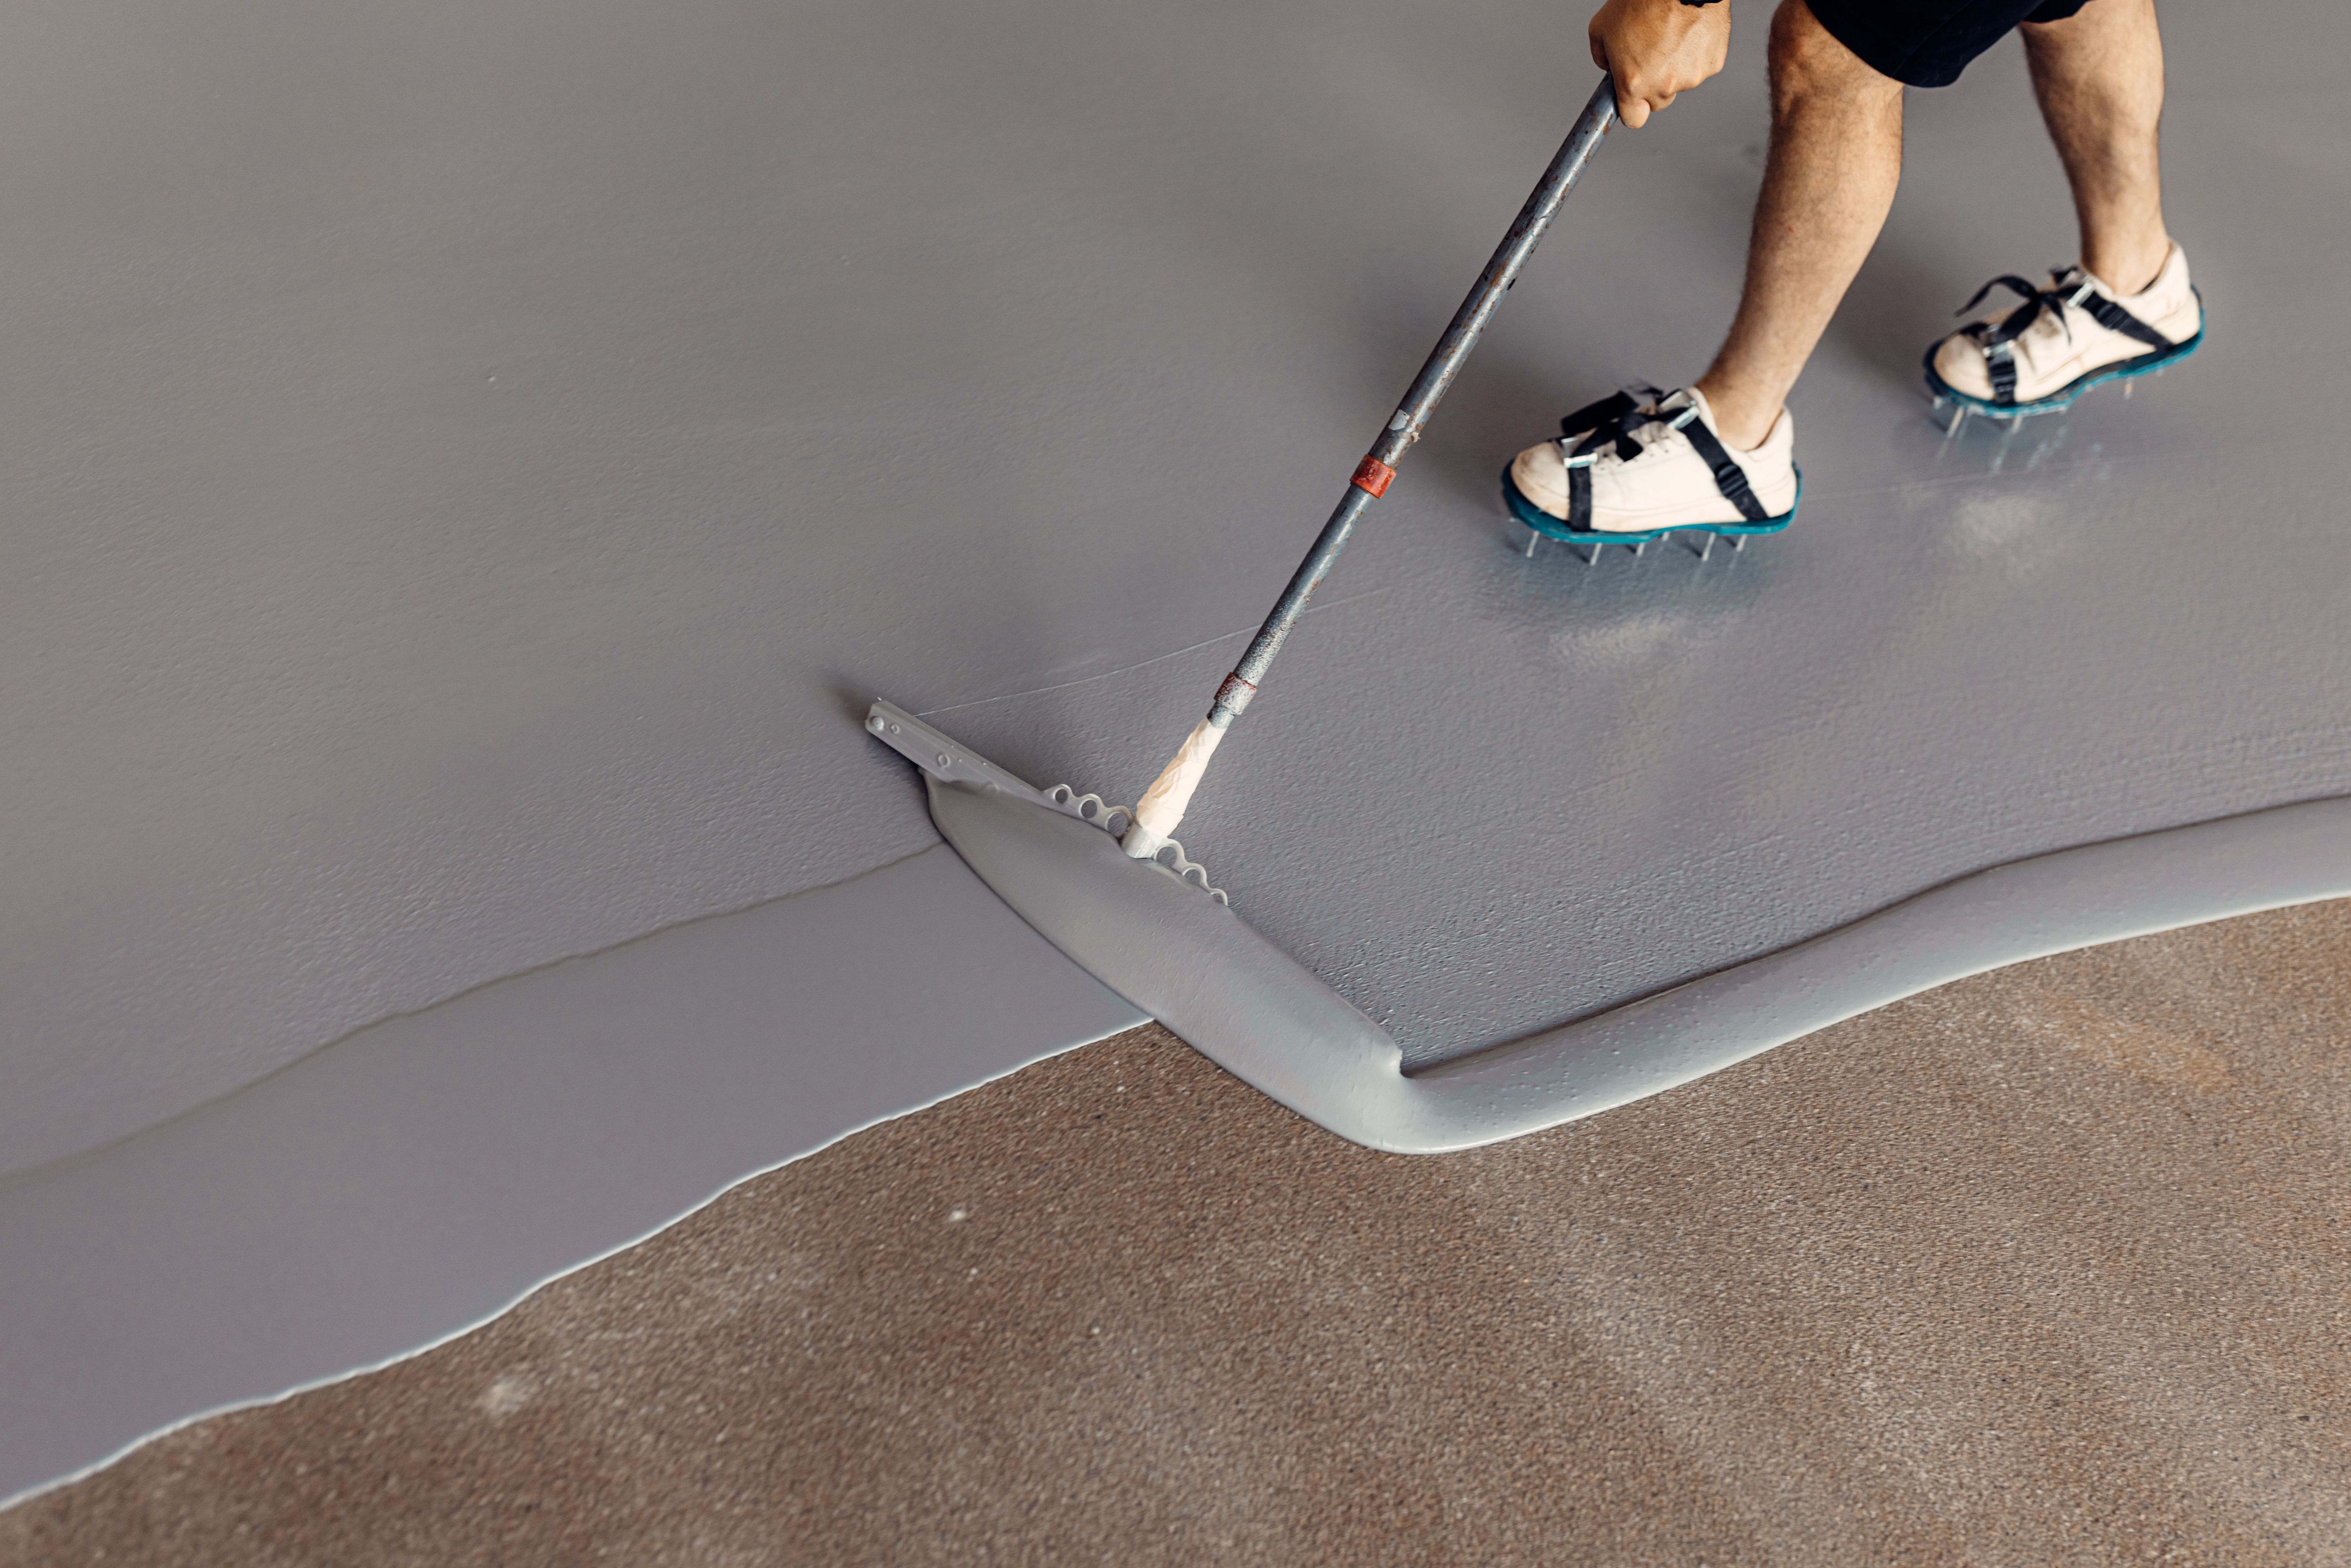
- Rolling On: Pour the mixed epoxy into a paint tray and use a roller to apply it to the rest of the floor. Work in small sections to maintain a wet edge, ensuring even coverage.
Final Touches
After applying the epoxy, you may want to add decorative flakes for texture and aesthetics. Sprinkle them evenly while the epoxy is still wet. Allow the floor to cure for the time specified by the manufacturer, usually 24 to 48 hours.
Once cured, apply a clear topcoat if desired for additional protection and gloss. This step can enhance the durability and look of your newly finished floor.
Maintaining Your Epoxy Floor
To keep your epoxy floor looking its best, regular maintenance is essential. Sweep or vacuum the floor to remove debris, and mop with a mild detergent as needed. Avoid using harsh chemicals or abrasive cleaners that can damage the finish.
With these expert tips, you can achieve a durable and attractive garage floor that stands the test of time. Enjoy the transformation and the added value to your home!