How to Prepare Your Garage Floor for Resurfacing


Understanding the Importance of Preparing Your Garage Floor
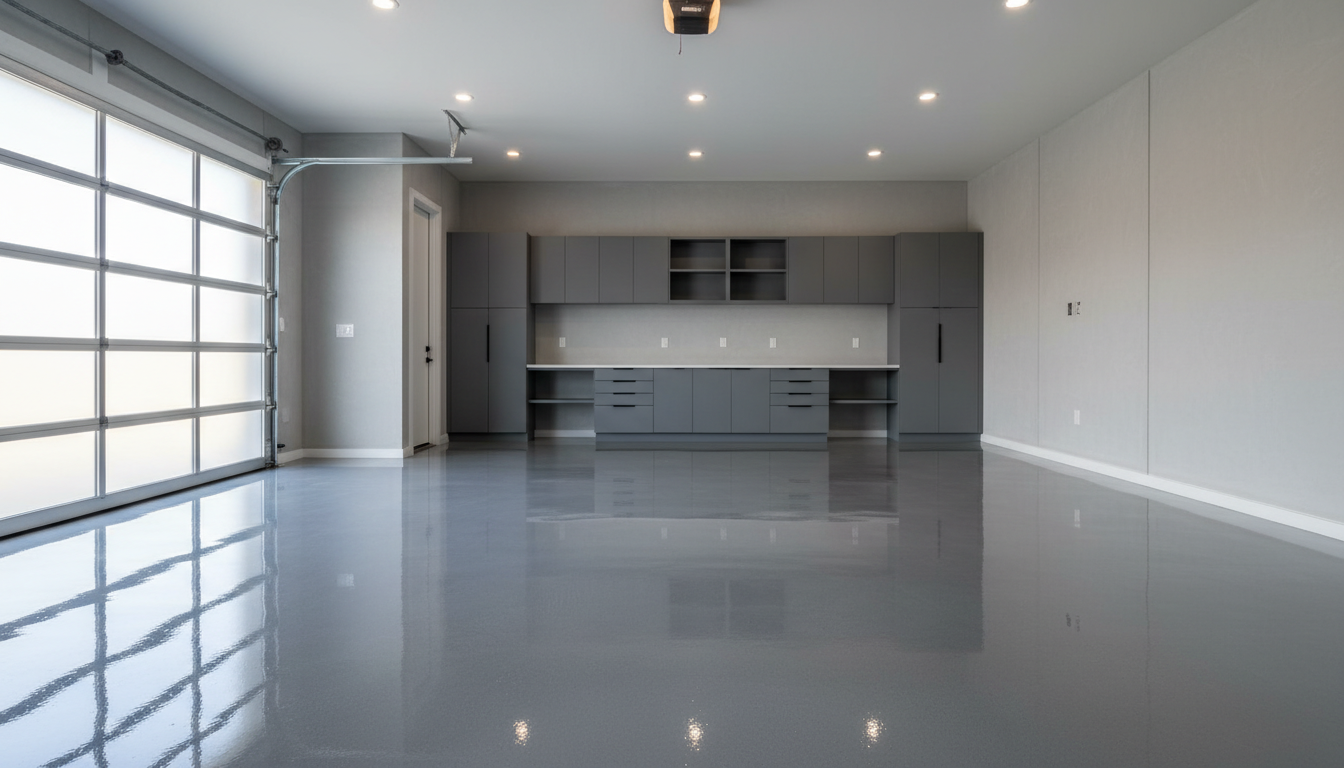
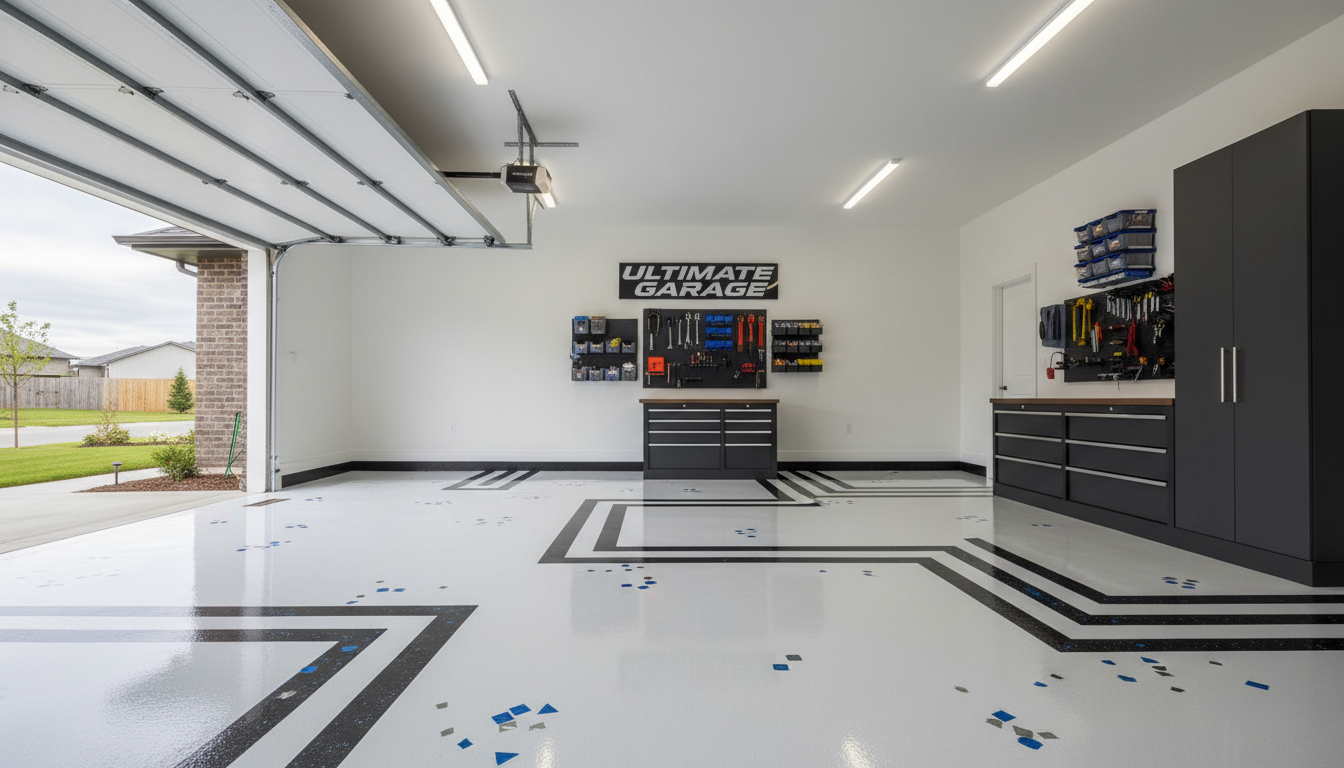
Resurfacing your garage floor can significantly enhance its durability and appearance. However, the key to a successful resurfacing project lies in proper preparation. Skipping this crucial step can lead to peeling, cracking, and other issues down the line. By investing time in preparation, you ensure a smoother application and a longer-lasting finish.
Clearing and Cleaning the Garage
Start by removing all items from your garage. This includes vehicles, tools, and storage units. Once cleared, thoroughly clean the floor. Sweep away loose dirt and debris, and follow up with a pressure wash to remove stubborn grime and oil stains. Ensure the floor is completely dry before moving to the next step.
Inspecting for Damage
After cleaning, inspect your garage floor for cracks, holes, or other damage. It's essential to address these issues before resurfacing. Use a crack filler or patching compound to repair any imperfections. Allow ample time for the repairs to cure as per the manufacturer’s instructions.
Choosing the Right Resurfacing Material
There are several resurfacing options available, including epoxy coatings, polyurea, and concrete overlays. Each has its benefits, so consider the specific needs of your garage. Epoxy is popular for its durability and glossy finish, while polyurea offers quick curing times.
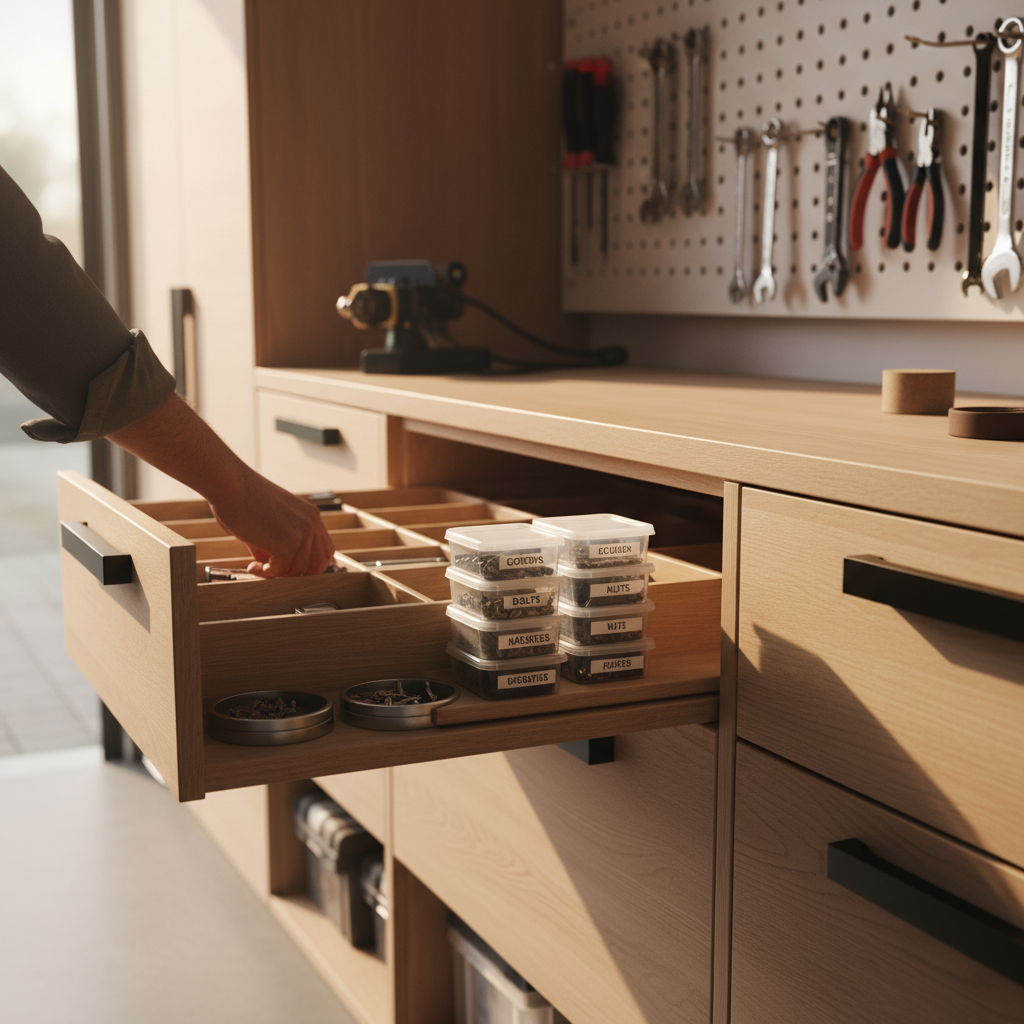
Gathering the Necessary Tools and Materials
Before beginning the resurfacing process, gather all necessary tools and materials. This includes a roller, brush, mixing bucket, and protective gear like gloves and safety glasses. Having everything ready will streamline the process and help ensure a professional result.
Priming the Floor
Applying a primer is a critical step that promotes adhesion between the existing floor and the new surface layer. Choose a primer compatible with your resurfacing material. Apply it evenly with a roller, and allow it to dry completely before proceeding.
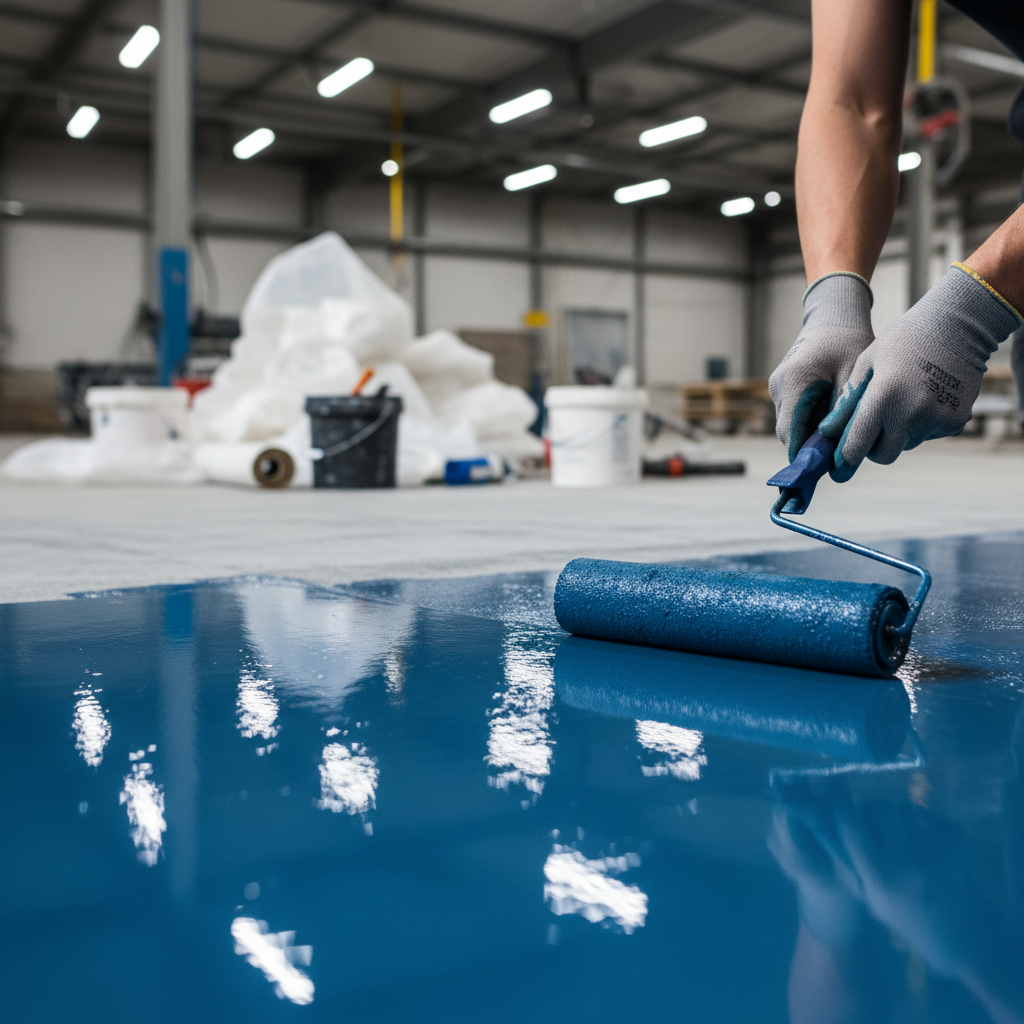
Applying the Resurfacing Product
Once the primer is dry, it's time to apply the resurfacing product. Follow the manufacturer’s instructions carefully for mixing and application. Use a roller to spread the product evenly across the floor, ensuring complete coverage. For best results, work in small sections and maintain a wet edge to prevent lap marks.
Allowing Proper Curing Time
After applying the resurfacing product, allow it to cure according to the manufacturer’s recommendations. This may vary depending on the product used and environmental conditions. Avoid walking or driving on the surface until it's fully cured to ensure optimal durability.
By following these steps, you can prepare your garage floor effectively for resurfacing, resulting in a professional and long-lasting finish. Proper preparation not only enhances the appearance but also extends the life of your garage floor.