Transform Your Garage: A Step-by-Step Resurfacing Guide


Transforming your garage from a cluttered space into a functional area begins with resurfacing the floor. A well-resurfaced garage floor not only enhances aesthetics but also increases durability and safety. Follow this step-by-step guide to achieve a professional finish.
Preparation is Key
Before diving into the resurfacing process, proper preparation is crucial. Start by clearing out your garage completely. This means removing all vehicles, tools, and other items. Once cleared, thoroughly clean the floor using a pressure washer or a strong detergent to remove dirt, grease, and oil stains.
Next, inspect the floor for any cracks or holes. These need to be repaired using a concrete patching compound. Allow the patched areas to dry completely before moving on to the next step.
Choose the Right Resurfacing Product
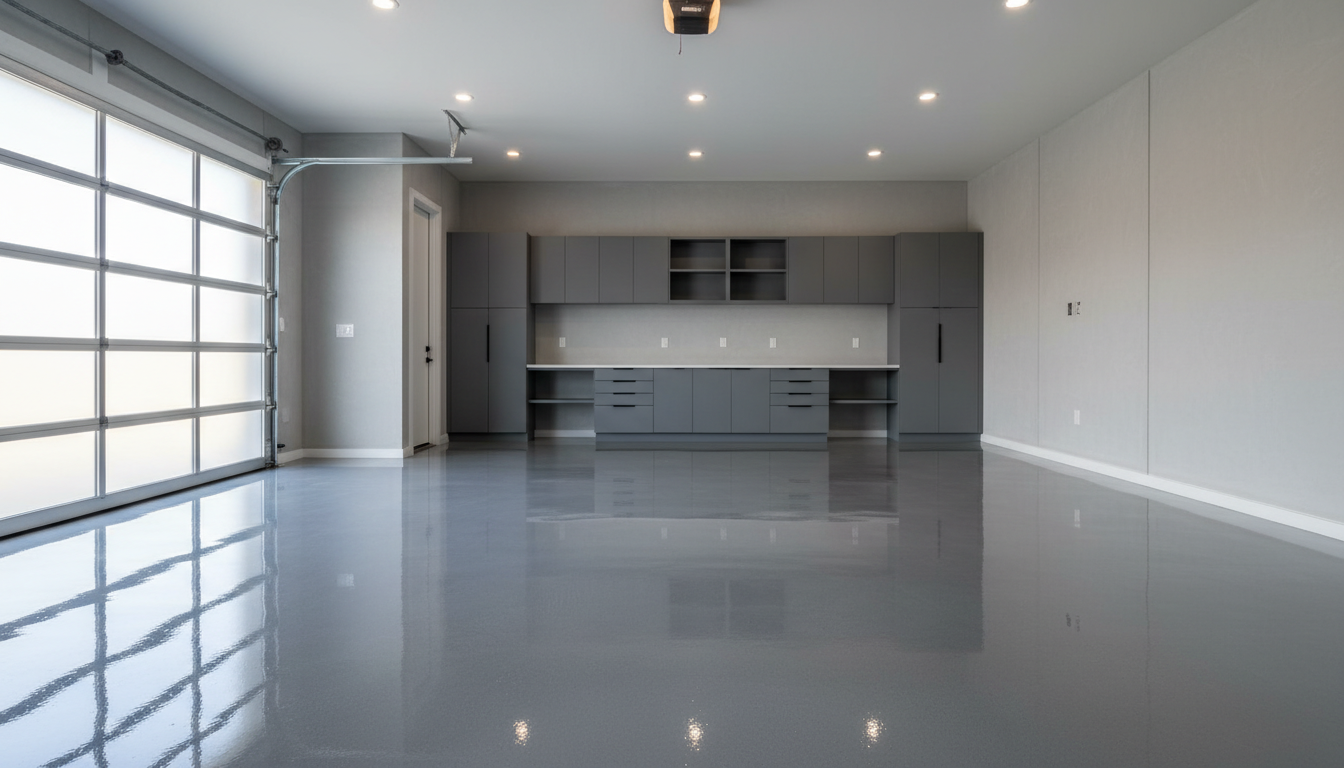
Selecting the appropriate resurfacing product is essential for achieving the desired finish. There are several options available, including epoxy coatings, concrete stains, and sealers. Consider factors such as durability, appearance, and cost when making your choice.
For a high-gloss, durable finish, epoxy coatings are often the preferred choice. Concrete stains offer a more natural look, while sealers provide basic protection and enhance the floor's appearance.
Application Process
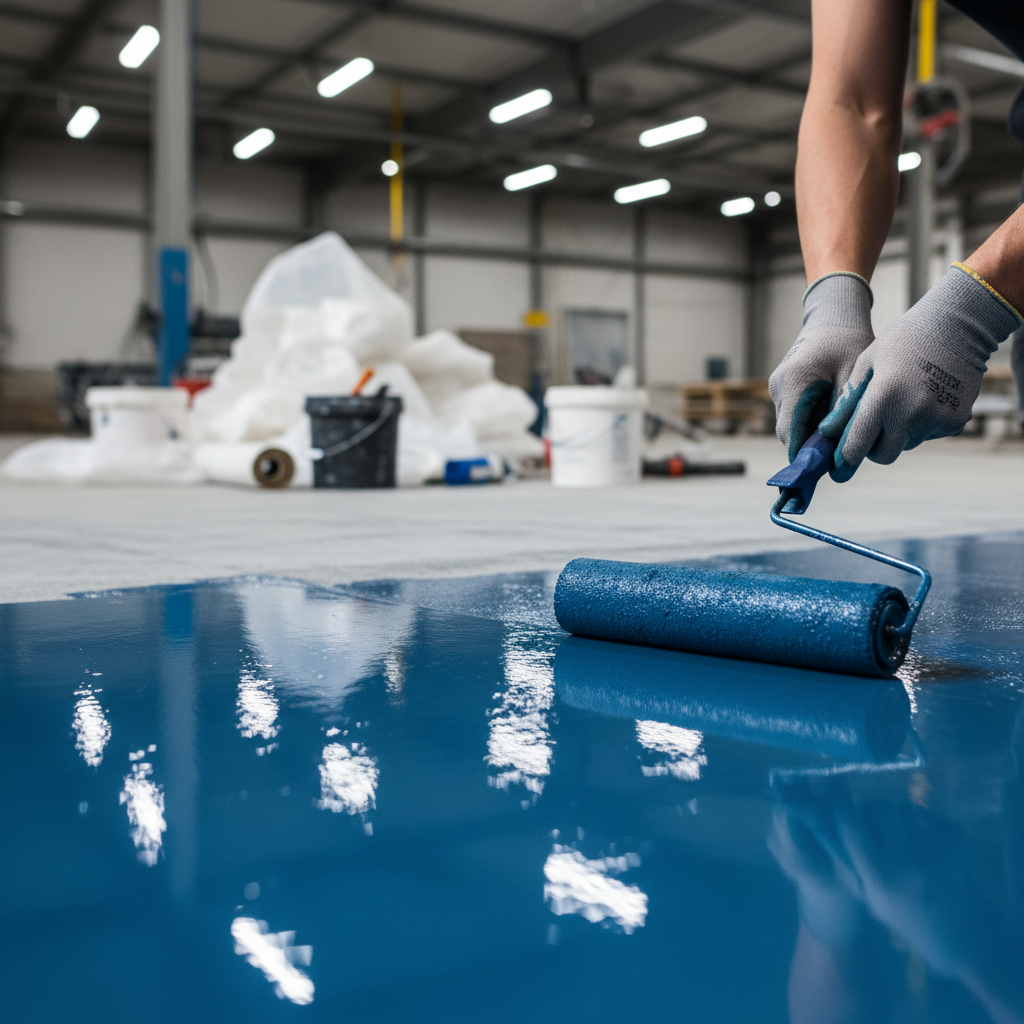
Once you have selected your resurfacing product, it’s time to apply it. Begin by mixing the product according to the manufacturer's instructions. Ensure you have all necessary tools on hand, such as rollers, brushes, or sprayers, depending on the product type.
Apply the product evenly across the garage floor. If using an epoxy coating, consider adding decorative flakes for a textured appearance. Allow the first coat to dry completely before applying a second coat, if necessary.
Allow for Proper Curing
After application, it's important to let the resurfaced floor cure. This curing time can vary based on the product used, ranging from 24 hours to several days. Avoid walking on or placing items on the floor during this period to ensure a robust and durable finish.
Once fully cured, you can begin moving items back into the garage. Consider using protective mats under heavy objects to maintain the floor’s condition.
Maintenance Tips
To keep your garage floor looking new, regular maintenance is essential. Sweep and clean spills promptly to prevent stains. For epoxy floors, occasional reapplication of a topcoat can help maintain shine and protection.
By following these steps, your garage will be transformed into a clean, functional space that’s ready for anything. Regular maintenance ensures that the investment in your new floor lasts for years to come.