Transform Your Garage with Epoxy Flooring: DIY Tips and Tricks


Transforming your garage with epoxy flooring is an excellent way to enhance its appearance and functionality. Whether you're looking to create a more polished look or simply want a durable surface, epoxy flooring can be a DIY project that brings significant rewards.
Why Choose Epoxy Flooring?
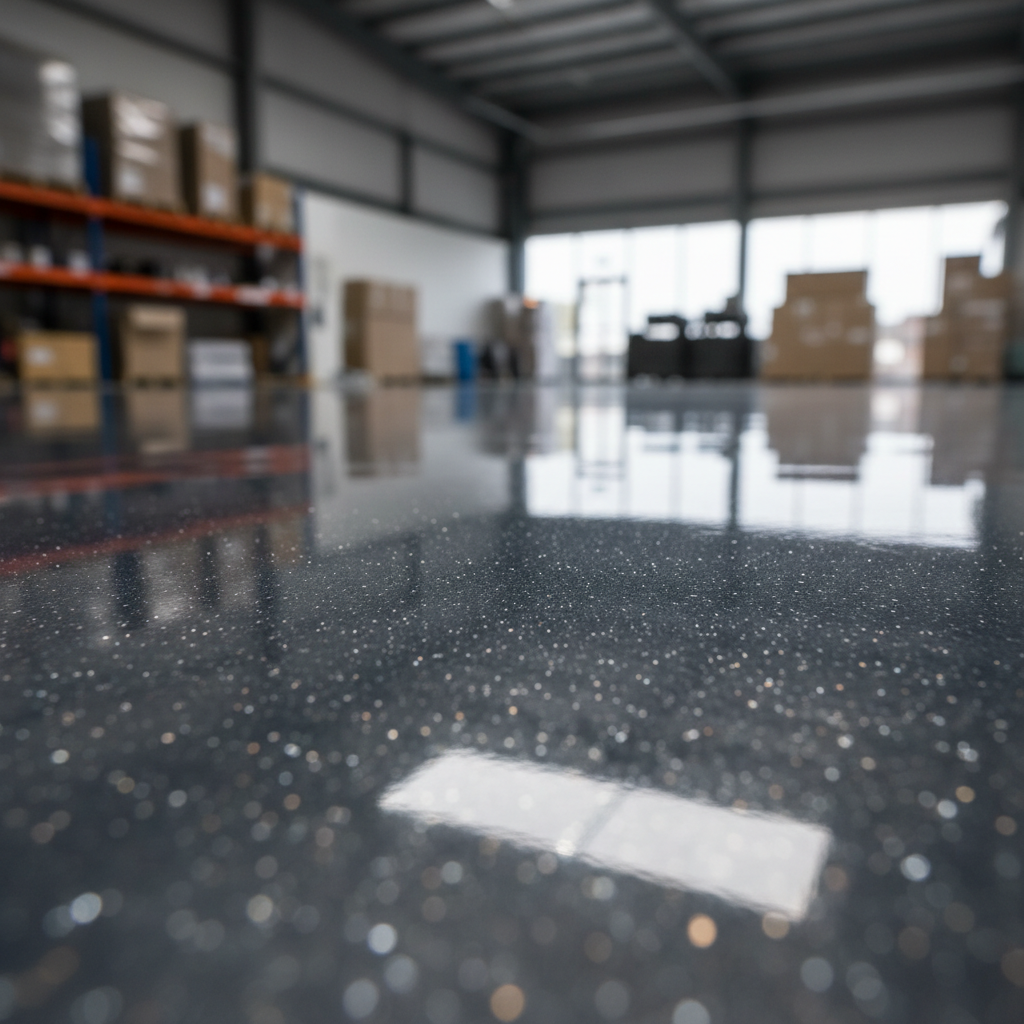
Epoxy flooring offers numerous benefits that make it a popular choice for garages. It provides a durable and long-lasting surface that can withstand heavy use. Additionally, epoxy is resistant to stains, chemicals, and moisture, making it ideal for garages where spills and leaks are common.
Another advantage of epoxy flooring is its aesthetic appeal. You can choose from a variety of colors and finishes to match your style, and the glossy finish adds a touch of elegance to any space.
Preparing Your Garage
Before you begin applying epoxy, proper preparation of the garage floor is crucial. Start by cleaning the floor thoroughly. Remove any oil stains, grease, and dirt. You can use a degreaser and a stiff brush to ensure the surface is spotless.
Next, repair any cracks or holes in the concrete. Use a concrete patching compound to fill these imperfections and allow it to dry completely. This step is essential for achieving a smooth and even epoxy finish.
Gathering Your Materials
Having the right tools and materials on hand will make the process smoother. Here's a list of what you'll need:
- Epoxy floor coating kit
- Concrete cleaner and degreaser
- Concrete patching compound
- Paint roller and extension pole
- Paintbrush for edges
- Protective gear (gloves, goggles)
Applying the Epoxy
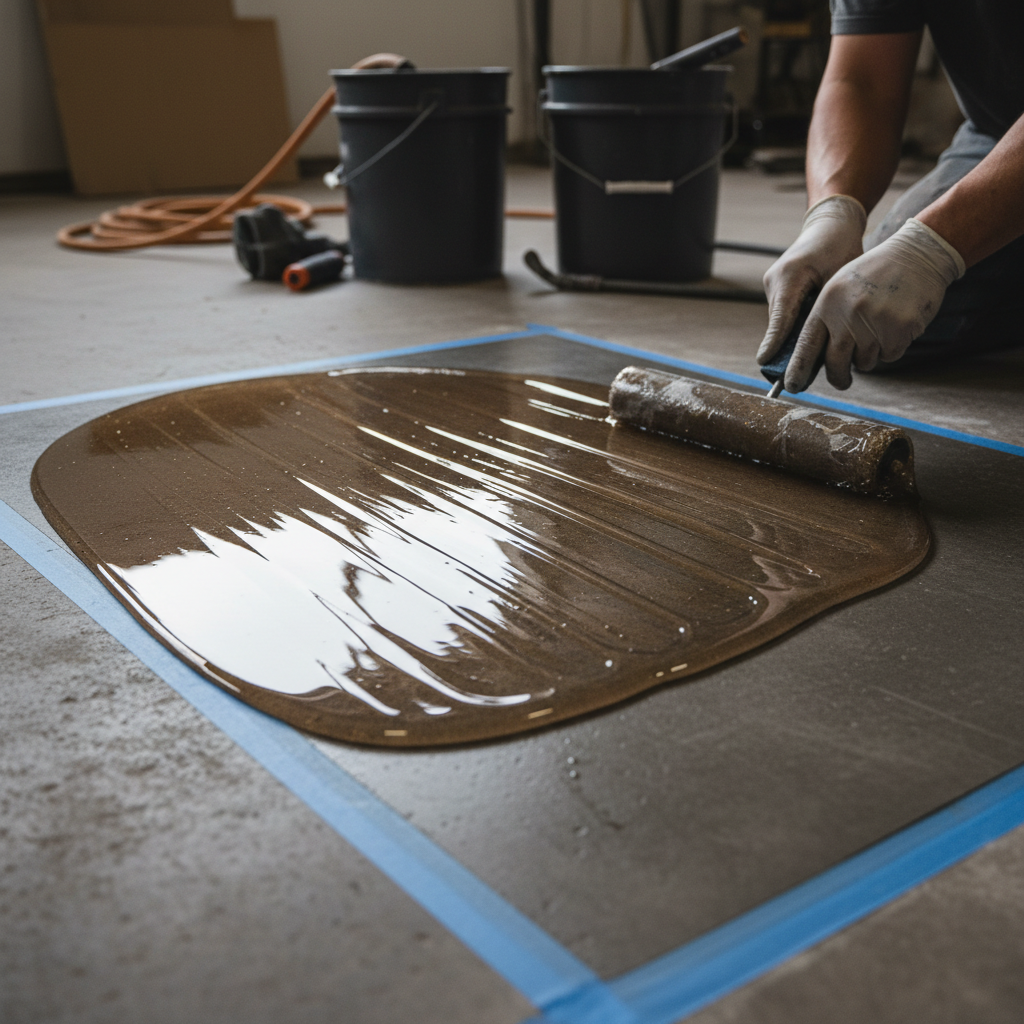
Once your floor is prepared and your materials are ready, it's time to apply the epoxy. Begin by mixing the epoxy resin and hardener according to the manufacturer's instructions. Use a paint roller to apply the epoxy evenly across the floor, starting from the back of the garage and working your way towards the exit.
Be sure to work in small sections to prevent the epoxy from drying before you spread it. Use a paintbrush to reach corners and edges that the roller can't access. For a decorative touch, consider adding colored flakes to the wet epoxy for added texture and visual interest.
Curing and Finishing Touches
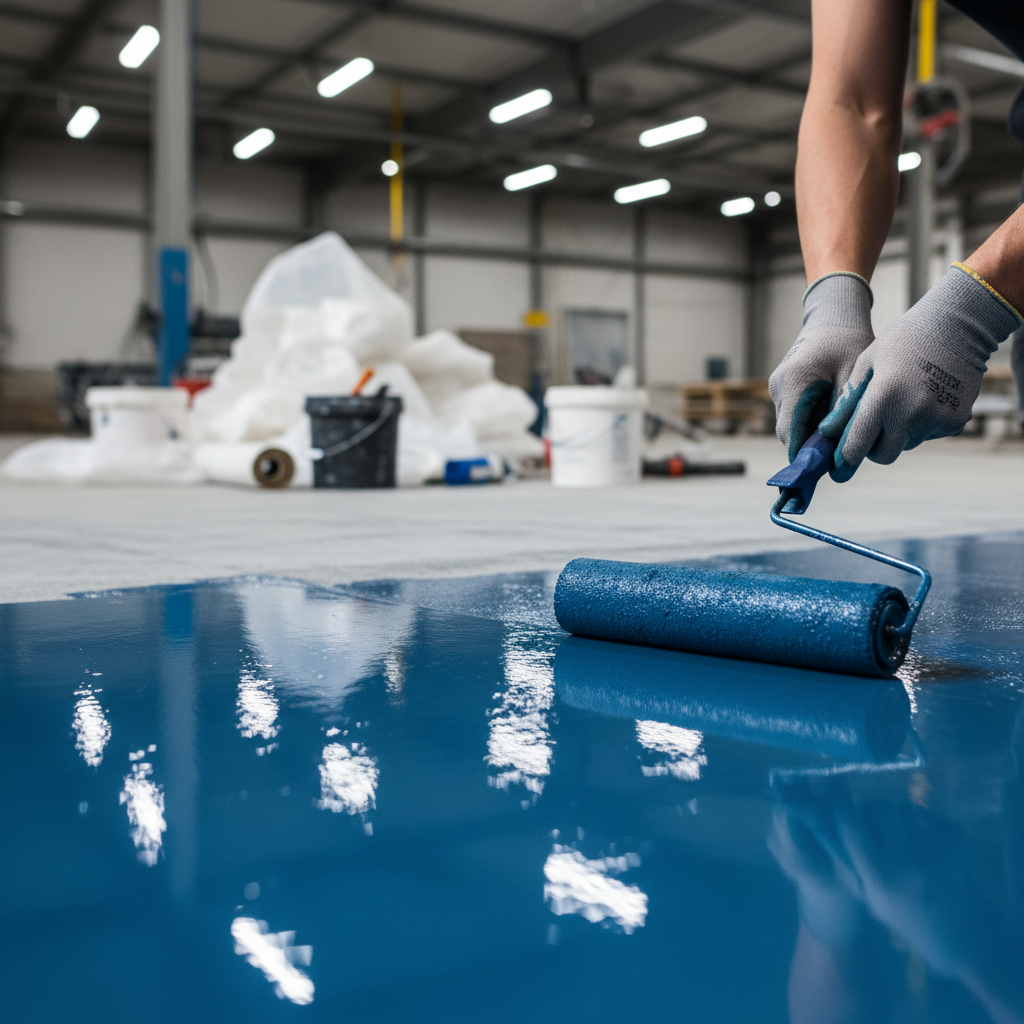
After applying the epoxy, allow it to cure as per the manufacturer's guidelines. This process typically takes several days, during which you should avoid walking on the surface. Once cured, you can add a clear topcoat for extra protection and shine.
Finally, consider organizing your garage to complement the new flooring. Install storage solutions and declutter the space to create a more functional and attractive environment.
By following these tips and tricks, you can successfully transform your garage with epoxy flooring, enhancing both its practicality and aesthetics.